 I love the Meringue Girls on many, many levels – they’re cute, and they’re cute! They’ve taken something basic and created a niche market – good for them… In addition, their cookbook has brilliant little video clips which can be accessed via the cookbook by scanning a special code on your iPhone. They’re fun, informative, simple, and definitely give you a sense of their personalities: that’s often difficult to achieve in a cookbook.
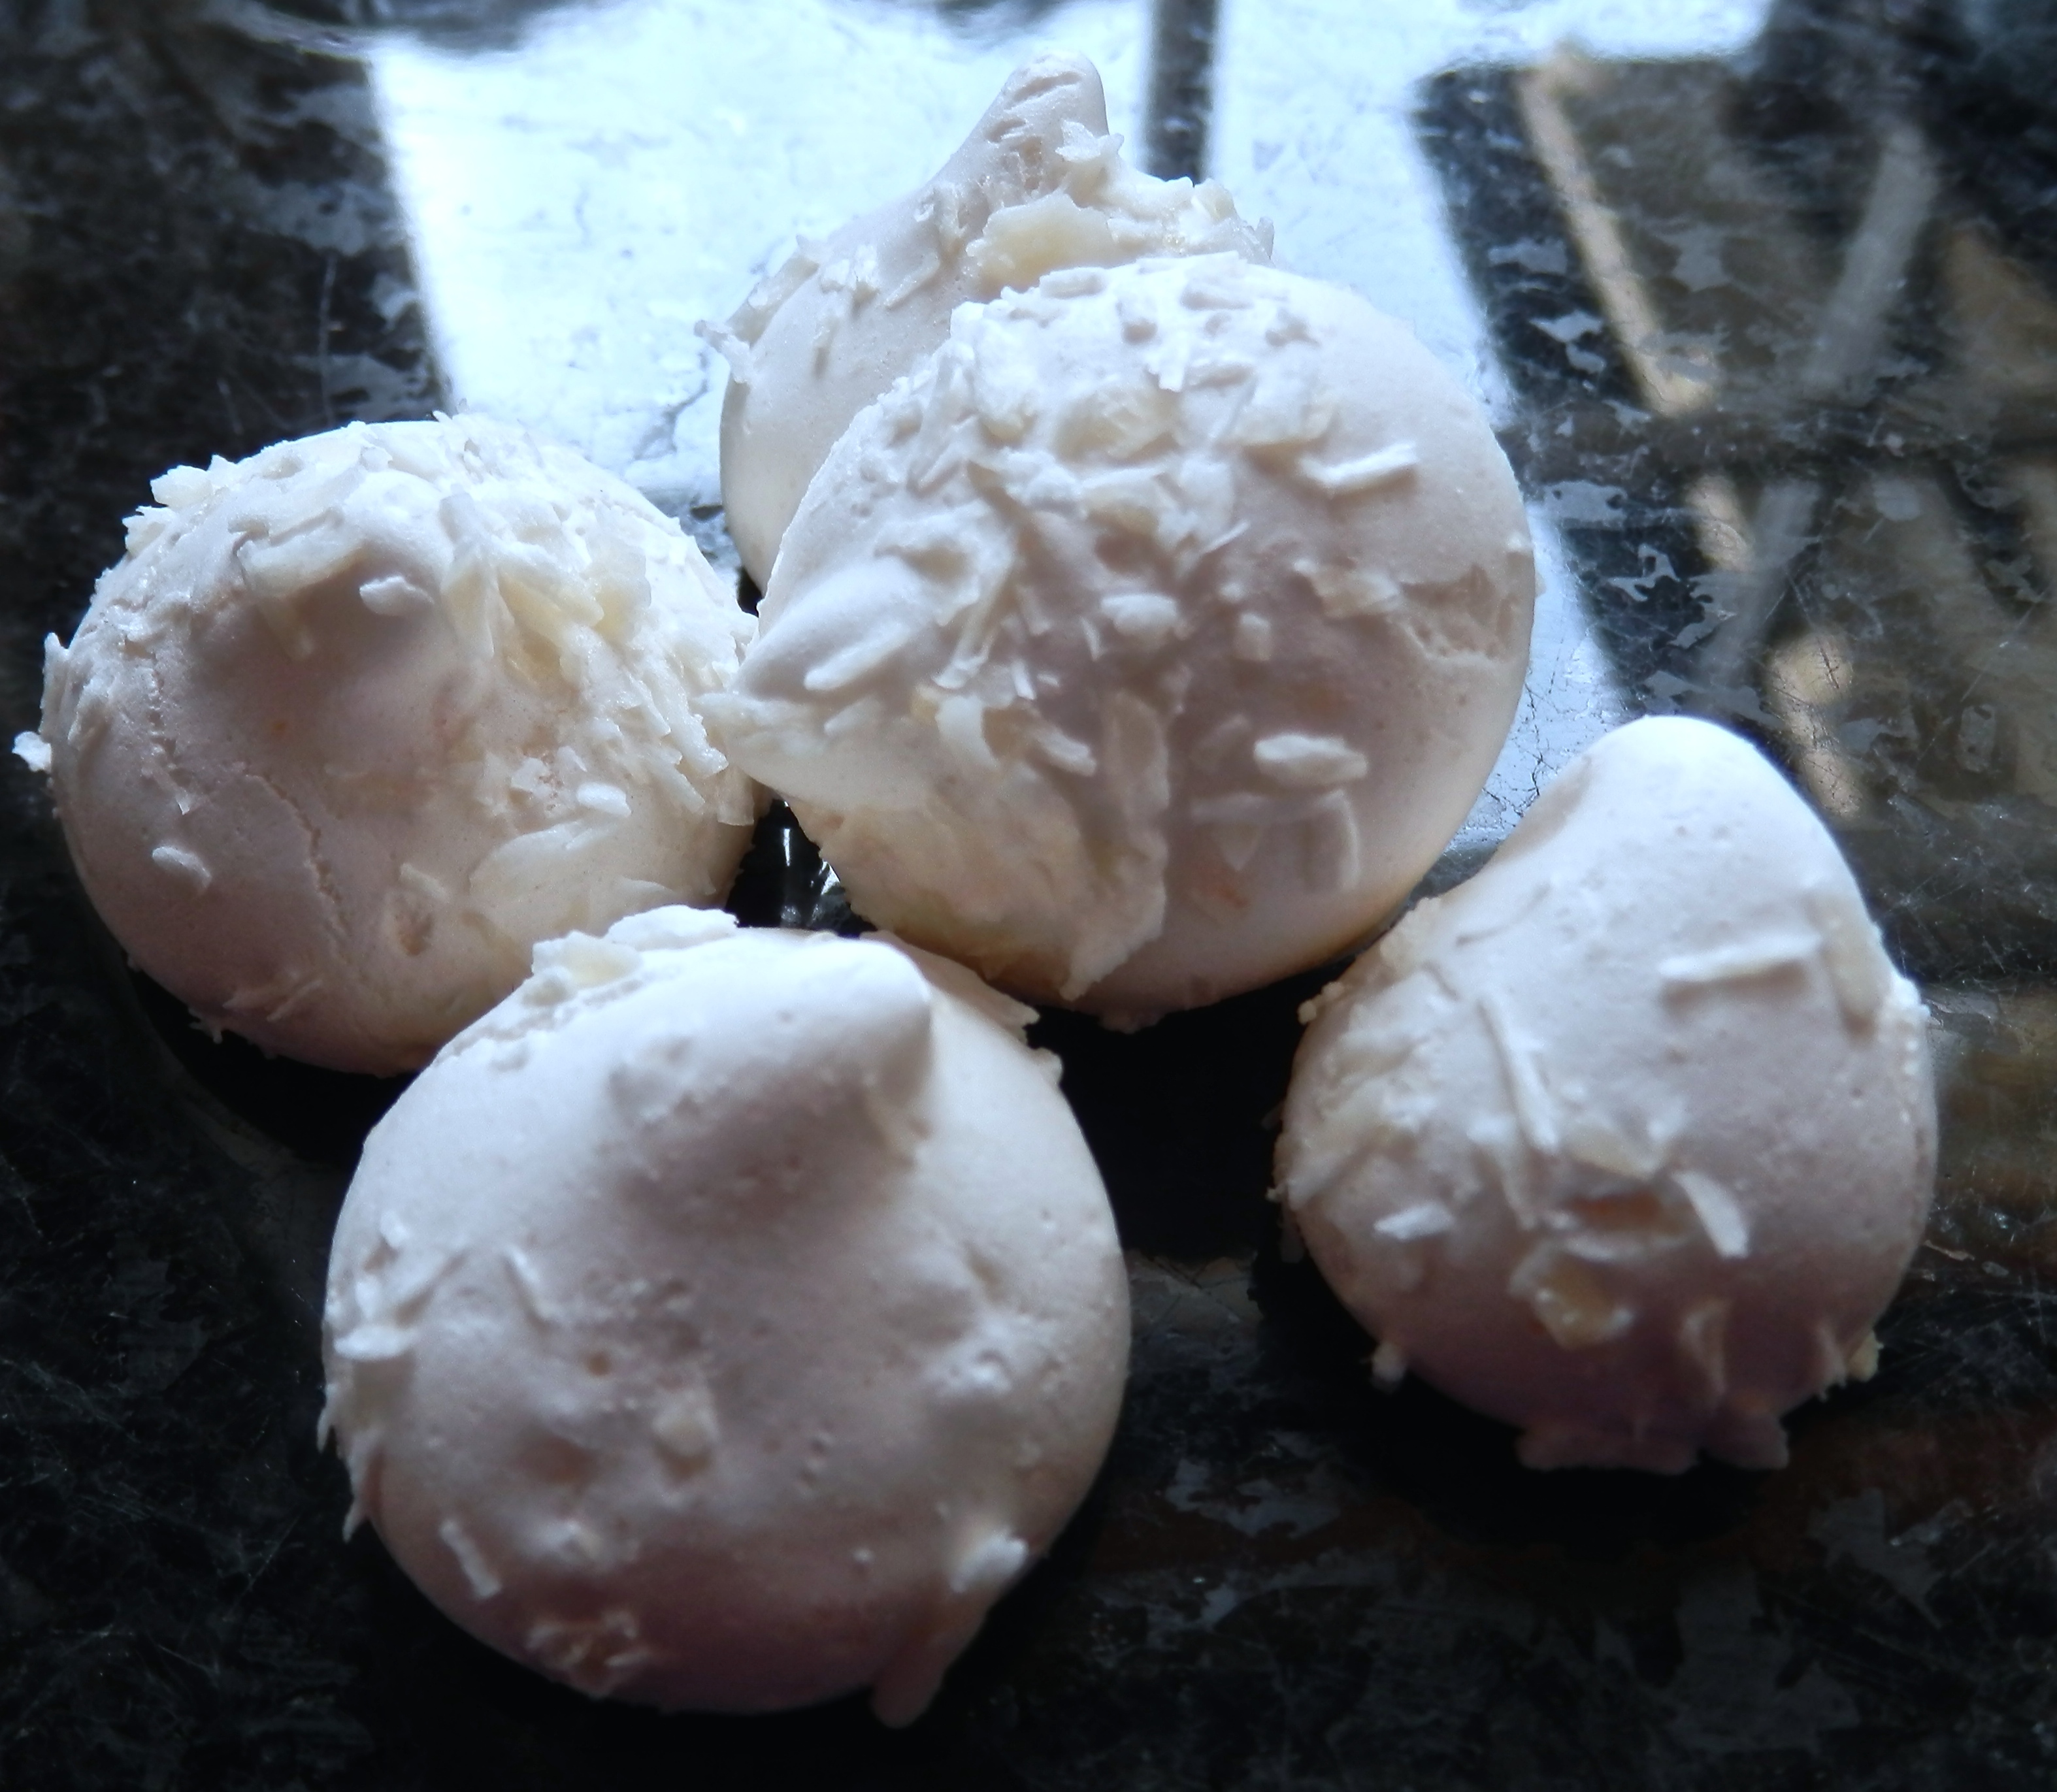
I’m particularly fond of their meringue kisses, because they’re easy to make, they look fabulous, and you can flavour them in all manner of ways. They’re the perfect little gift, and make a great item for a charity bake sale. My most popular flavour are the passion fruit, though the cocoa, raspberry and coconut are popular too. (The coconut variety taste like a Bounty bar, without the additional calories.) I use Aromes, which are professional patisserie flavours, and these do make a difference. If you’re going to make a large quantity of a particular flavour, an investment in them is well worth while – they also have the advantage of not adding too much liquid into your recipe.
The Meringue Girls technique is a little different to French Meringue (whisked with cold sugar), or Italian (whisked with a hot sugar syrup, and therefore cooked), or even Swiss (which is whisked over a bain marie to cook, then taken off the heat and whisked until cool). In this method the sugar is heated in the oven while you’re preparing the whites… It does actually work well, so don’t feel it’s necessary to opt for a different technique.
I’m giving you their basic recipe – do look at their book for different flavour ideas… Although the method section may seem quite long, do watch the videos included below the instructions – I promise you the Meringue Girls will make it all perfectly obvious in those videos
Ingredients:
150g free-range egg whites (5 medium eggs)
300g caster sugar
For flavourings, see Notes
Method:
- Start by lining a large baking sheet with baking paper (this is the tray onto which you will pipe the meringues. In reality this volume of ingredients will certainly fill two normal sized baking sheets, and at least one double oven sheet).
- Pre-heat the oven to 200ºC. Line a roasting tray with baking paper, pour in the caster sugar and put it in the oven for about 5 minutes until the edges are just beginning to melt. Heating the sugar will help it dissolve in the egg which more quickly to create a glossy stable mixture.
- Meanwhile, weigh your egg whites in the free-standing mixer bowl, or a non-plastic bowl. Make sure your bowl and whisk are free from grease. Whisk slowly at first, allowing small stabilising bubbles to form, then increase the speed until the egg whites form stiff peaks, and the bowl can be tipped upside down without the egg falling out.
- Keep an eye on the mixture and stop whisking just before it turns into a cotton woolly appearance, at which point the mixture will be over-whisked and will have lost some of the elasticity in the egg white protein
- At this point, the sugar should be ready to take out of the oven. Turn down your oven to 100ºC. Leave the door ajar to speed up the cooling.
- With the whites stiff and while whisking again at full speed, add one big tablespoon of the hot sugar ager another to the meringue mixture, ensure that it comes back yup to stiff peaks after each spoonful of sugars. Don’t worry about any small clumps of sugar, but avoid any larger chunks of caramelised sugars from the edges of the roasting tray.
- Once you have added all of the sugar, continue to whisk on full speed for about 5-7 minutes. Feel a bit of the mitre between your fingers, and if you can still feel the gritty star, keep whisking at full speed until the sugar has dissolved and the mixture is smooth, and the bowl is a little cooler to the touch. The mixture will continue to thicken up during this stage. You know when it’s read to use as it will form a nice smooth, shiny peak on the tip of your upturned finger.
- To pipe the meringue kisses, turn a piping bag inside out, and place it over a jug or bottle, so that it stays in place. Using natural good colouring and a clean paintbrush, paint 5 thick strips from the tip of your piping bag to halfway down the bag.
- Then carefully spoon your stiff meringue mixture into the piping back, and turn the bag back the right way around. You need to pack the meringue mixture in tightly, ensuring there are no air bubbles.
- With sharp scissors, cut the tip of the piping bag to the size of a 20p coin.
- To get the piping bag flowing, use some of the mixture to pipe small dollops onto the four corners of your baking sheets, and use like glue to stick your baking paper to the sheet.
- Hold the piping bag with both hands, placing your dominant hand at the top of the piping bag and your other hand halfway down the bag. Use the top hand to apply pressure and the lower hand to control the flow of the kisses. Squeeze the bag (like and udder!) to form the kisses. They should have a 5cm diameter and a big peak at the top. You can use different nozzles for different effects. For example a star nozzle will give you beautiful little star-like kisses.
- Once you have assembled your meringues into the desired shapes on your lined baking sheet (leaving a couple of centimetres between each shape), bake for approximately 30-40 minutes. Take them out of the oven as soon as they lift off the baking paper with their bases intact.
- Leave them to cool on the baking sheet.
Notes:
- It’s easier to use a liquid egg white, such as Two Chicks, rather than separating and measuring eggs
- The Meringue Girls use a ratio of 1:2, egg whites to sugar. I have seen other ratios, but for meringue kisses, this ratio works fine
- Room temperature whites achieve more volume than cold whites, so once you’ve measured them, allow them to come to room temperature – usually around 30 minutes
- Your equipment must be clean of grease – if necessary wipe a cut lemon around the inside of the mixing bowl
- Flavourings can be added by including an ingredient directly into the mixture (for coconut, you stir 25g desiccated coconut into one batch, and sprinkle 25g over the batch – but I also included a few drops of coconut Arome; for chocolate you take 3 Tbsp of cocoa, including half into the mixture, and scattering the remainder over the meringues before cooking (though I did include a little chocolate flavouring in them too).
- I don’t take my meringues out of the oven straight away, as I found they had a tendency to crack, from being cooled down too quickly. I turn off the oven, and stick a wooden spoon into the top of the oven door, propping it ajar…
- Any extra meringues will keep for two weeks in an air-tight container, though I doubt they’ll last that long, particularly if you have children!
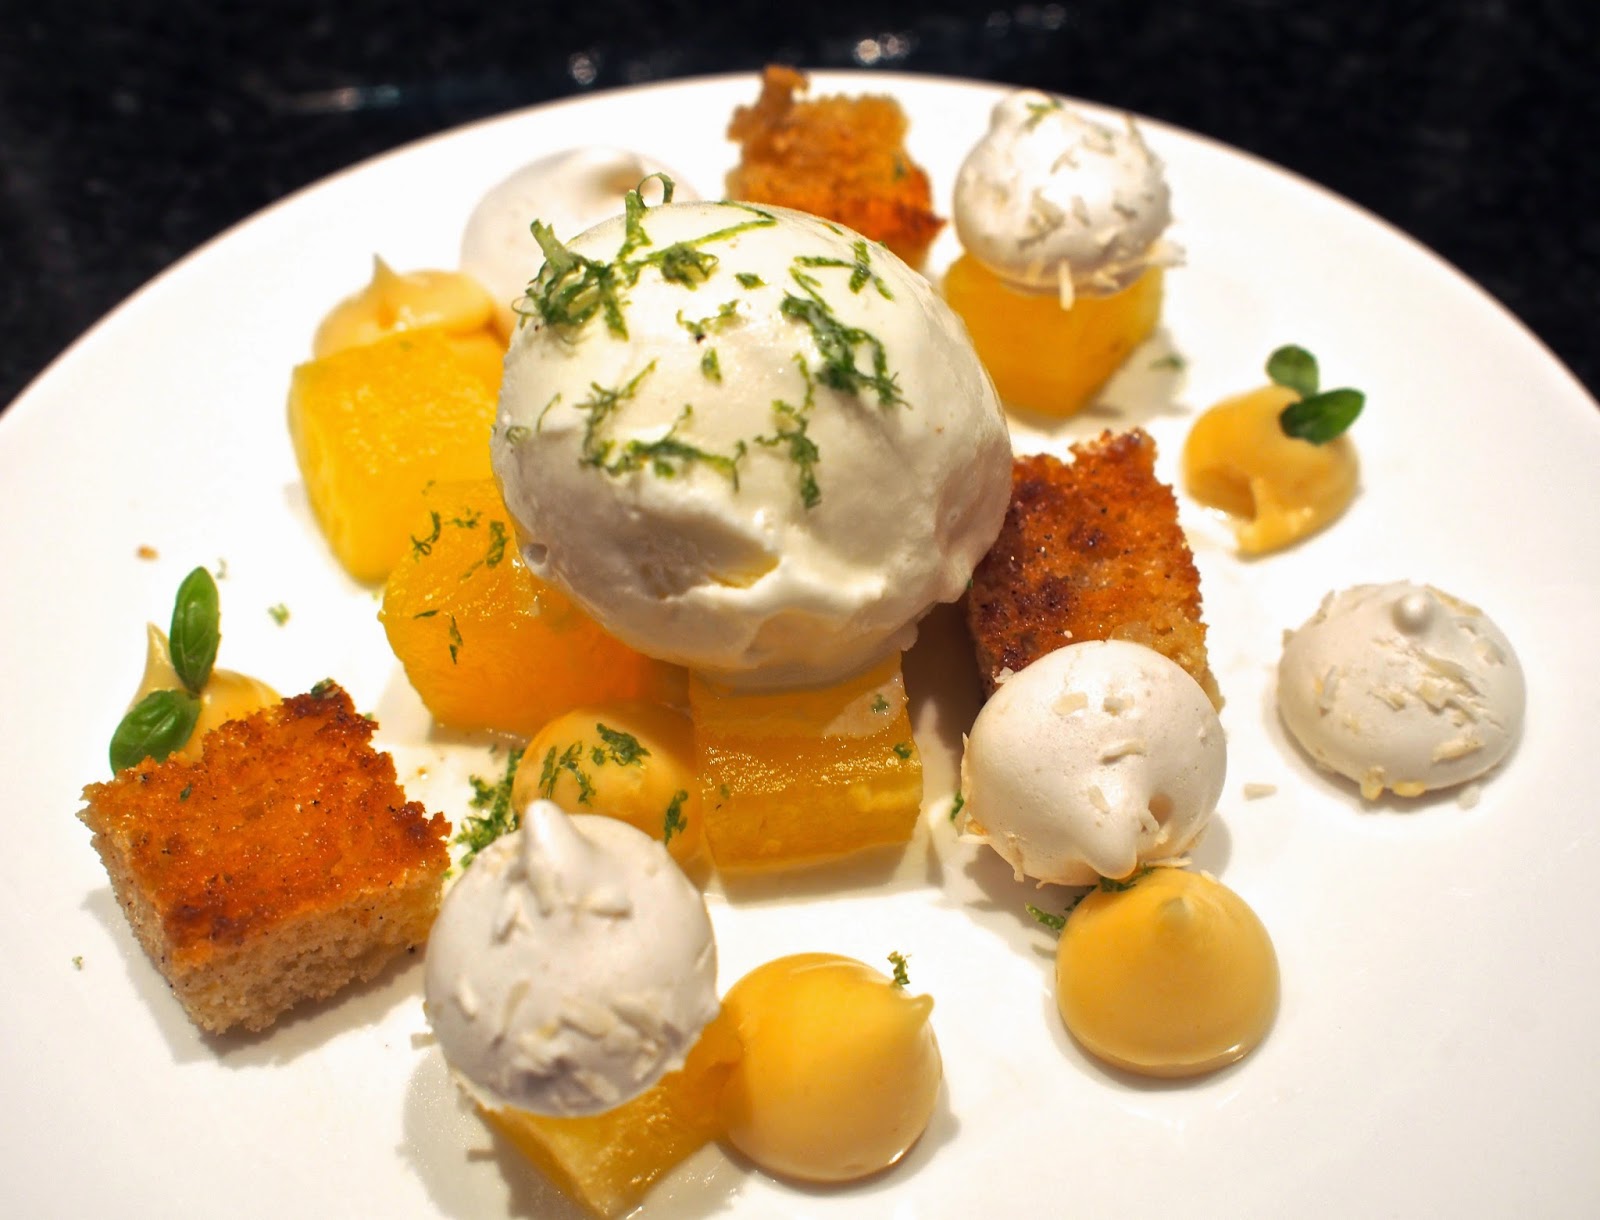 |
| Coconut meringues, coconut creme pattisserie, brioche pain perdu, compressed pineapple, lime sorbet |
 |
| A little bit of a joke, deliberately coloured and squat, to look a little like little hats for some sugar work I was making |
 |
| Production line for the school Christmas Fayre, along with pâte de fruit – there are passion fruit, raspberry, cocoa, and blackberry there |
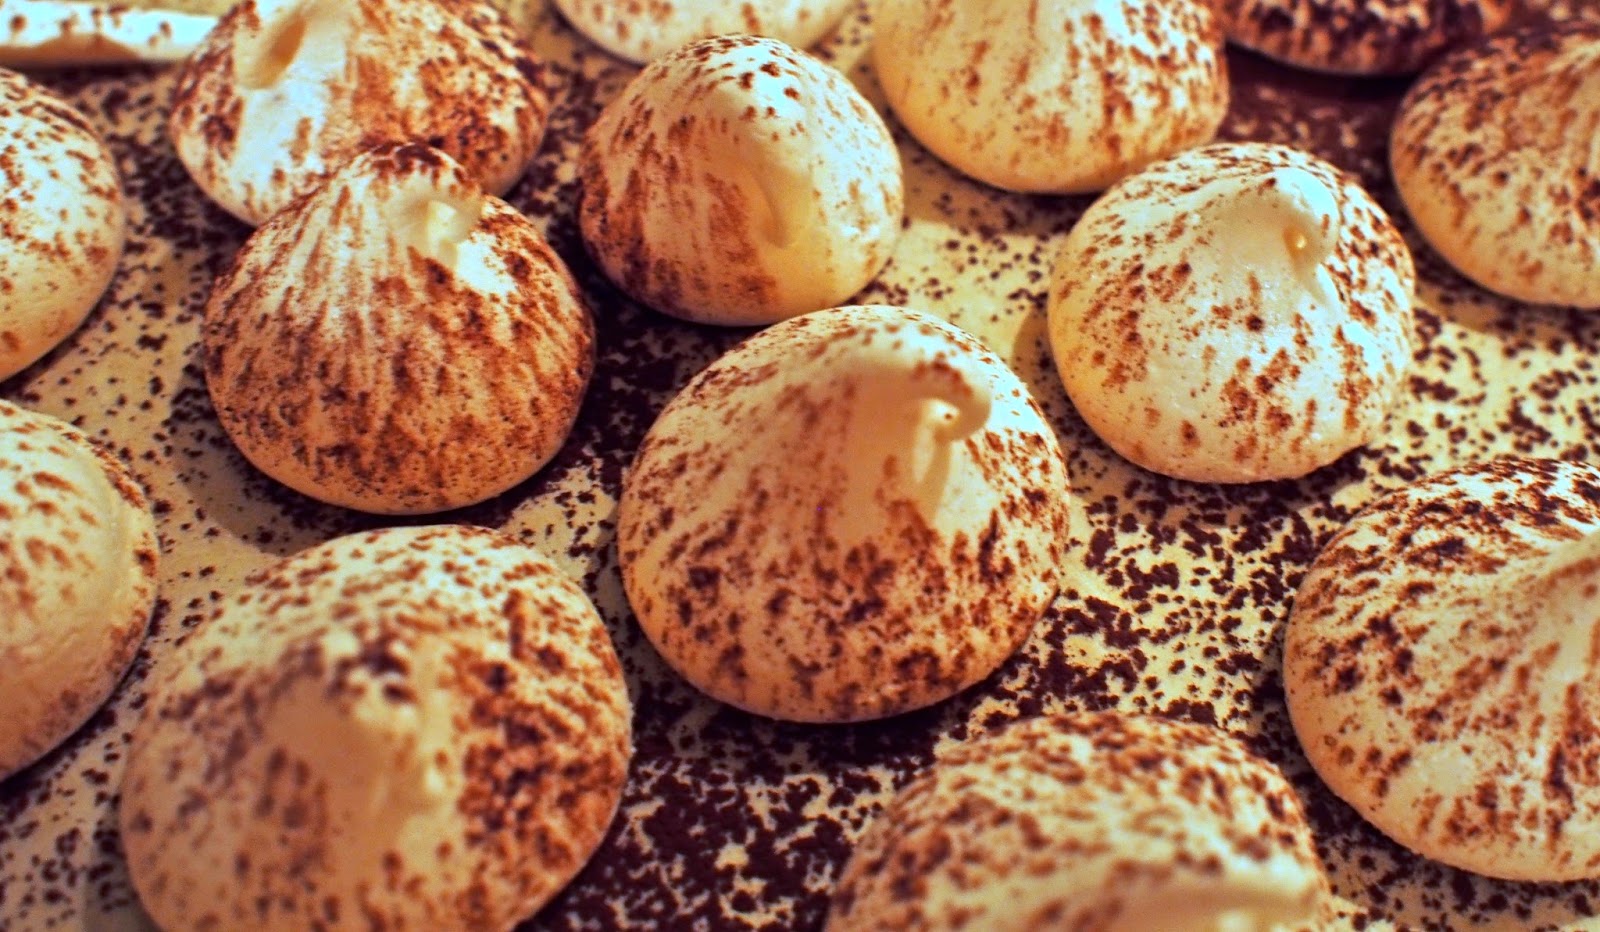 |
| Cocoa and chocolate flavoured meringues |
