

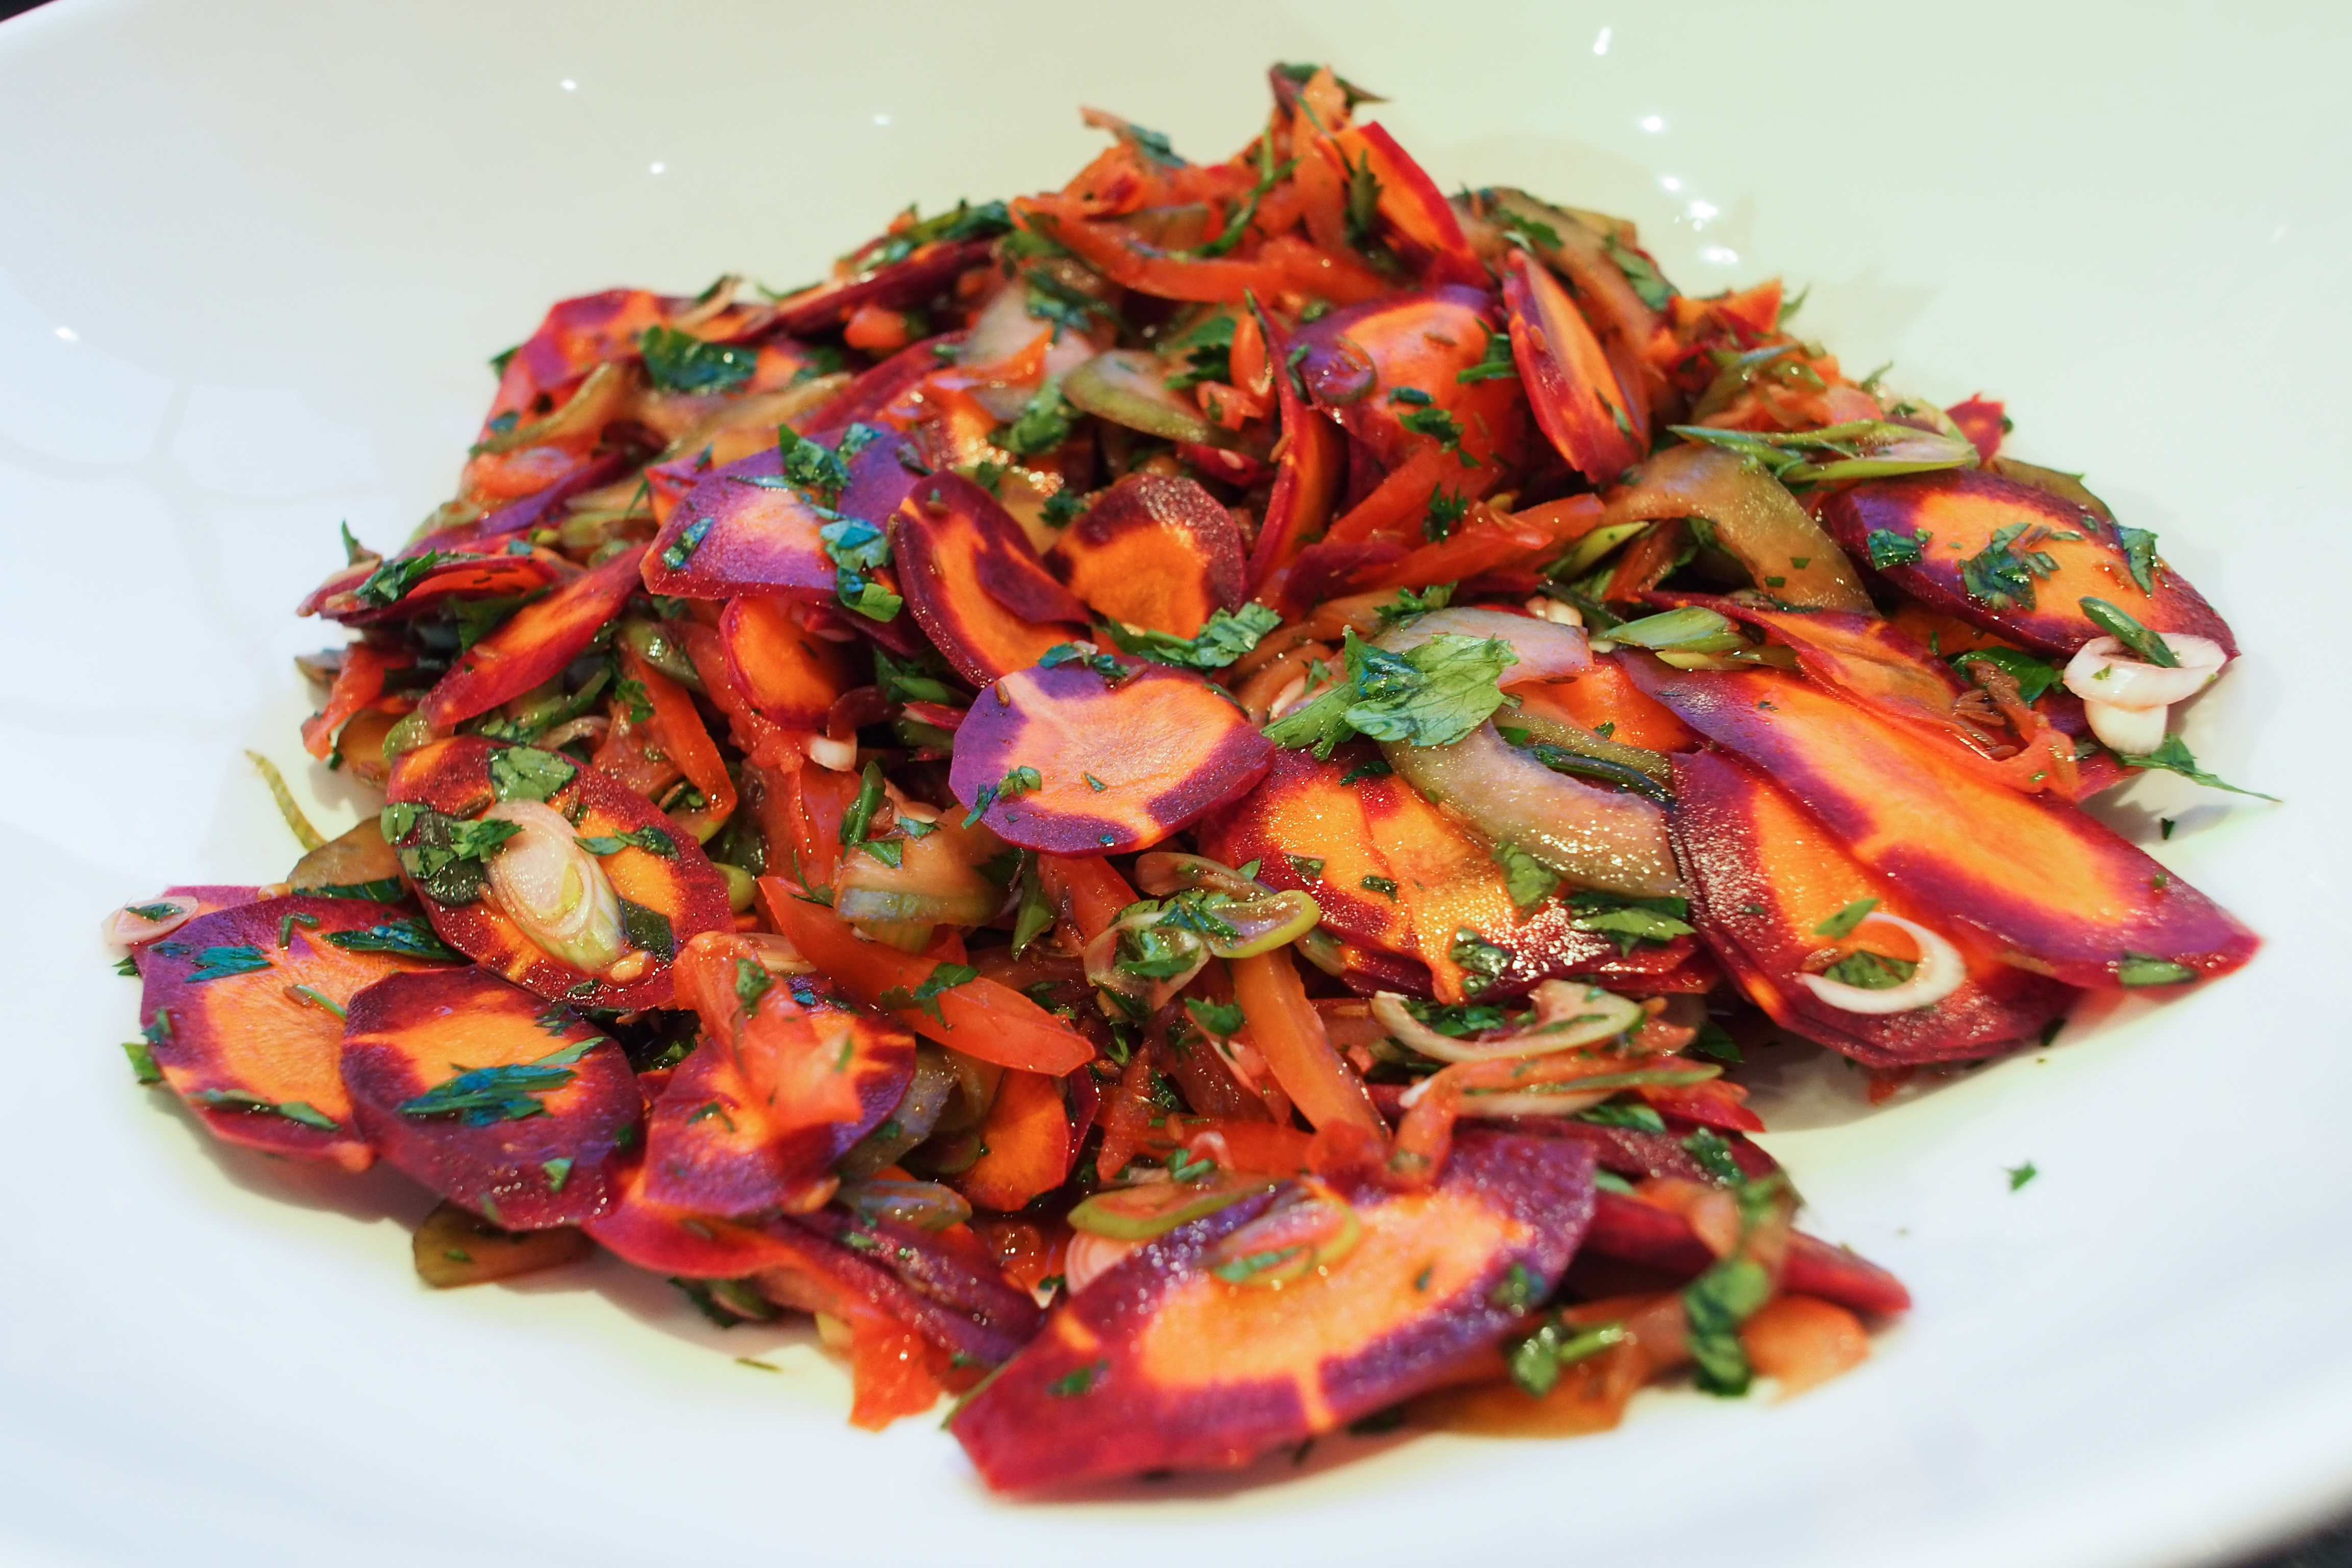
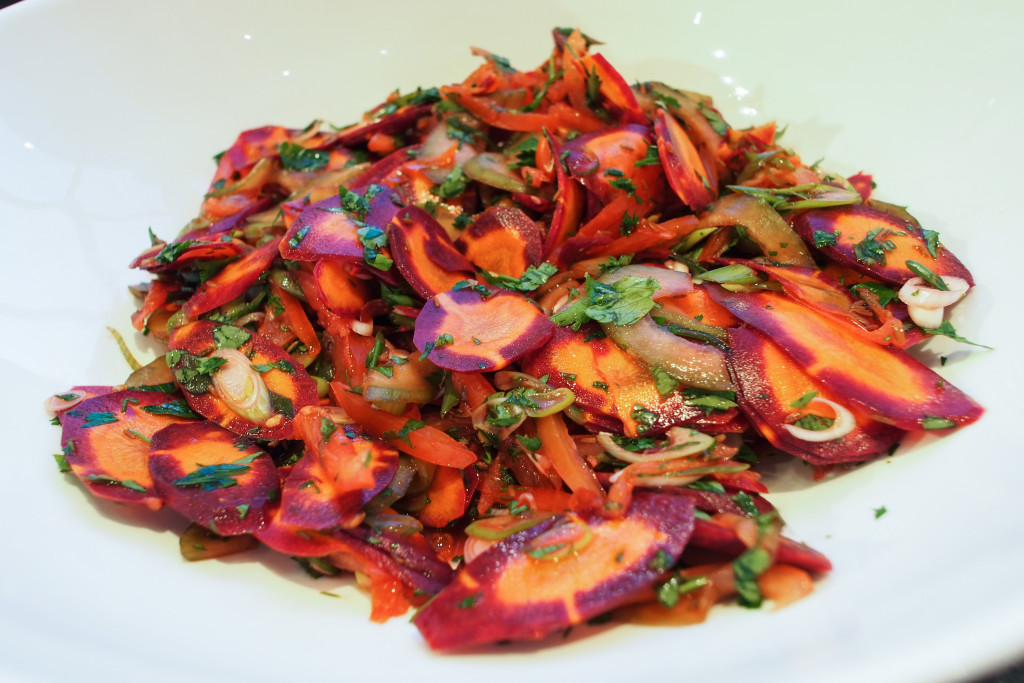
I thought it might be fun to make Indian food for our inaugural book club meeting. Being a handful of girls, it clearly had to include a salad – but I suddenly realised that actually, I’m not sure what an Indian salad looks like… Having never been to India, I haven’t see any first-hand, and I’ve never seen anything beyond raita, or onion salad on an Indian restaurant menu. {I even looked at the menu on the Benares website, just to make sure I hadn’t forgotten any} Most vegetarian dishes tend to be cooked rather than raw…
So the thought process began somewhat in reverse: which spices could I use to marry to the other Indian dishes, and which salad ingredients might marry to those spices.
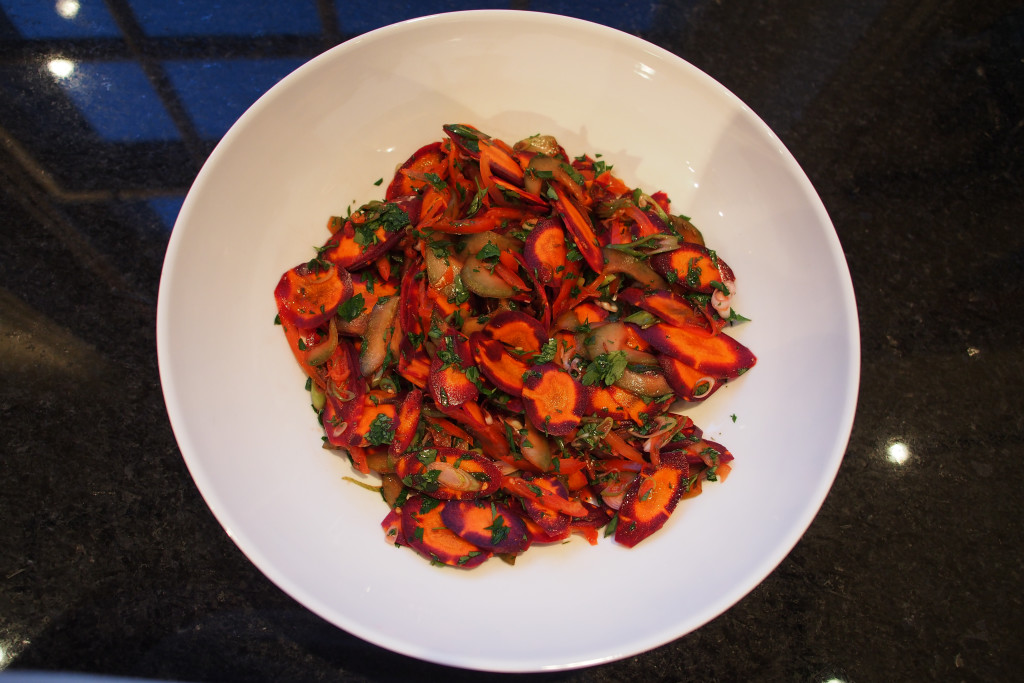
After my intense cardamom overload of late, I thought I’d switch to cumin seeds, which led me to combining them with carrots. Cumin, caraway, parsley, and carrots are all members of the same Apiaceae family, and compliment each other well. The rest, as they say, is history… I kept some in the fridge until the following day, and it was just as refreshing then…
Ingredients:
8 large carrots, sliced into shards (or lengthways)
1 tablespoon of cumin seeds
1 teaspoon of caraway seeds
3 tablespoons of white balsamic vinegar
8 spring onions, finely sliced
½ cucumber, peeled, deseeded, and cut into slices
handful of parsley, finely chopped
salt and pepper to season
Method:
Combine all of the ingredients together and leave to meld – you need to leave it for at least an hour to allow the cumin seeds and carrot to soften a little. You will see my bowl is only half full – I put some additional salad leaves into mine, but clearly not while it was ‘curing’, or it would have wilted the leaves
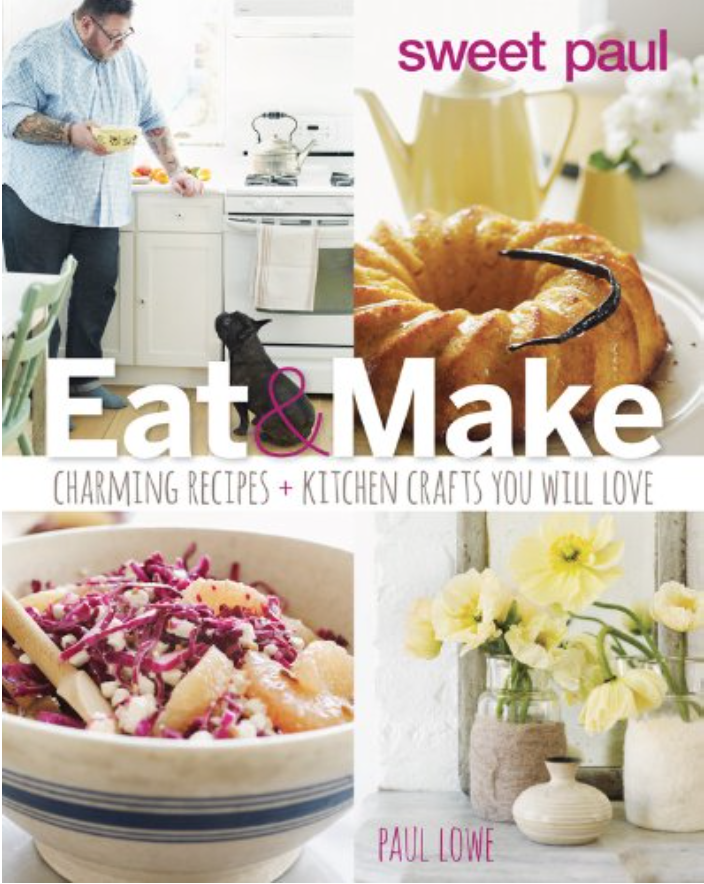
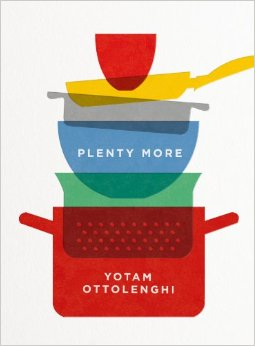
 This is a charming book, with a variety of projects and recipes in it. There’s everything from making your own personalised napkins, spice bowls made from children’s modelling clay, a trivet made from old fashioned wooden pegs…. Then there’s the smoked trout salad with hard boiled eggs, Mormor’s fish pie, and pasta with roasted butternut squash, garlic and lemon.
Ordinarily, I would list everything in the book, but in this particular case i think it would take away the charm of the book. I’m assuming you’ve reached Sweet Paul because of his blog, in which case this book won’t disappoint. It’s not a book you pick up on an emergency supper night, but it’s one you could pore over on a Sunday morning with a cup of tea…
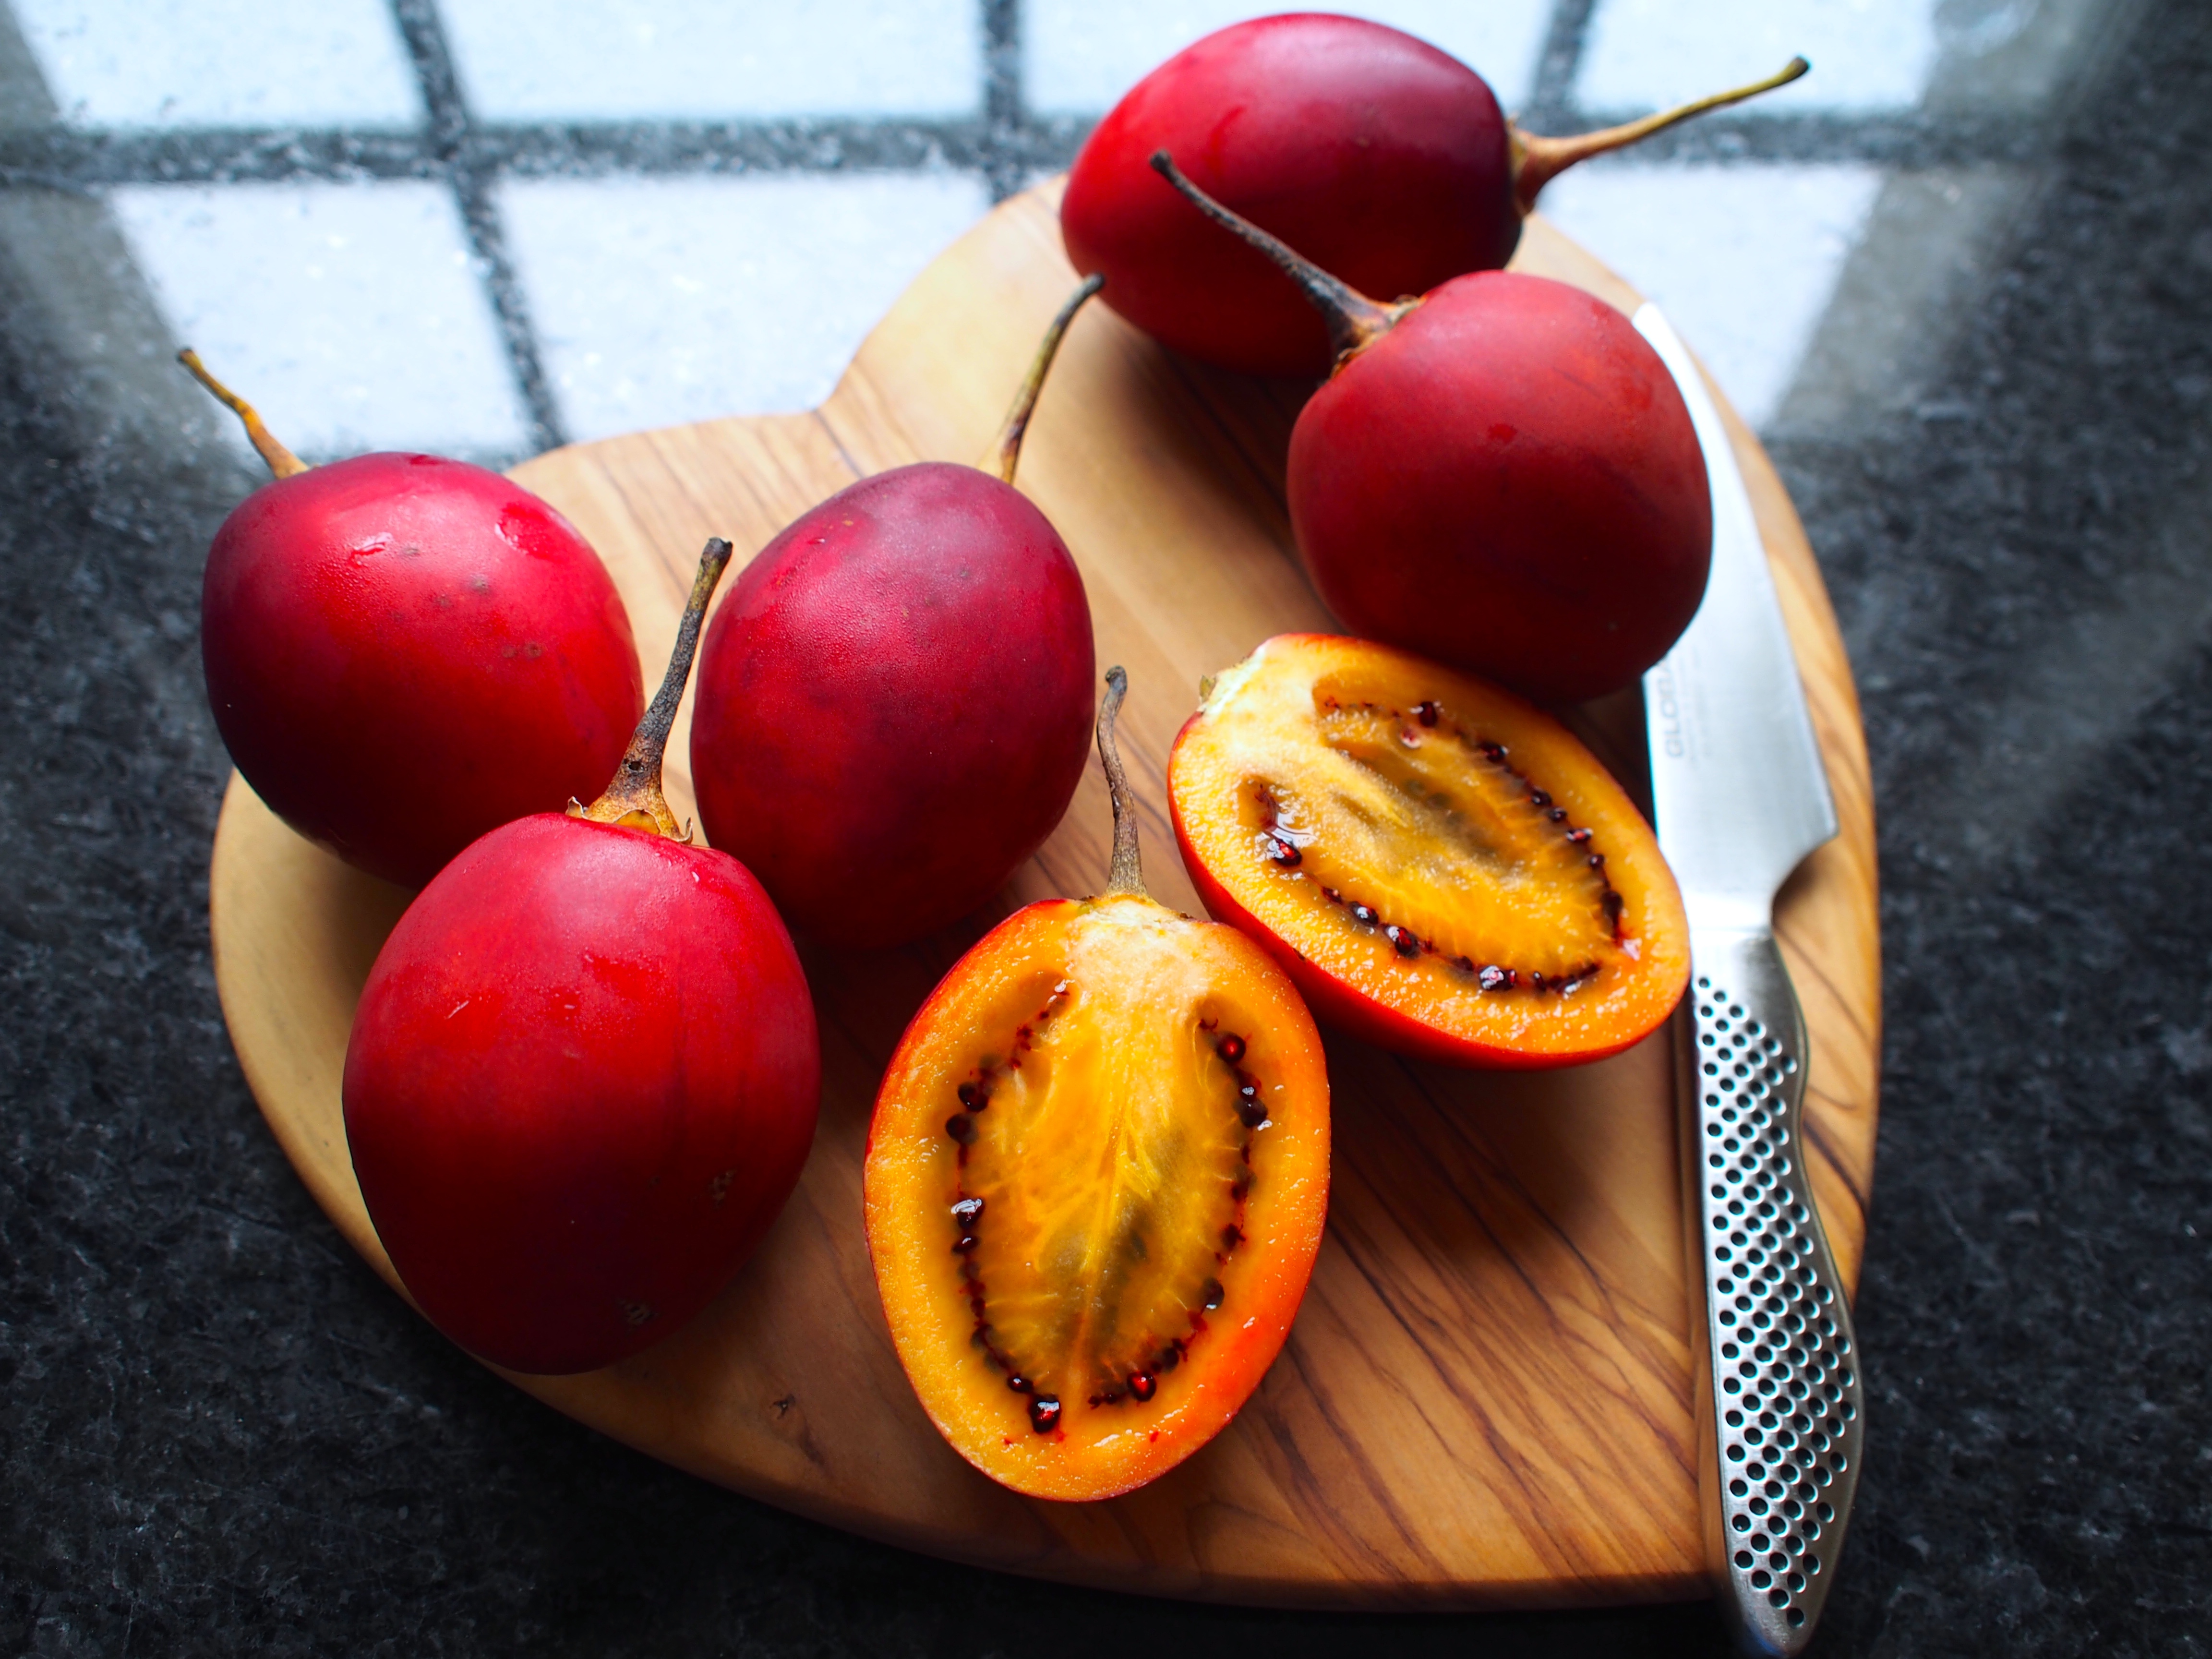
 I’ve been madly in love with tamarillo’s since I first tasted them, about 14 years ago, in a fruit box at Ubon. That was it – from that moment on I was hooked… Ubon served them raw, with the skin cut virtually to the end, so that you slipped them off and into your mouth. Delicious!
As you might suspect, they’re a member of the tomato family, complete with seeds hidden in their silky depths. The skin is typically considered inedible because it’s so bitter, and they have an incredibly sweet, but predominantly sour taste – probably quite unpalatable for most people, but there’s something else in there that’s a little more undefined… It’s the marmite of fruit…
They can be difficult to track down, but over the years Harrods has usually supplied me with my fix, flown in either from South America, or New Zealand. If you’ve never heard of them, or tried them, you’re in good company – in a conversation with two Michelin starred chefs recently, neither had ever tasted a tamarillo…
These days I get my fix from my lovely chums over at Oakleaf European, which necessitates me buying a whole tray at a time, but hurrah for that! Though I’ve never cooked them, I came across a reference to them in Umami, a fantastic book which leads you through the various facets of that ‘fifth taste’. It was an utter revelation to discover that tamarillos actually contain more glutamate (one element of umami) than tomatoes, and practically all fruit and vegetables – in fact up to five times the amount of tomatoes. It also has several times the levels of glutamate of beef – suddenly I entirely understood exactly why I adored them so much – that undefined flavour in the background is one of the biggest hits of umami available…
These are the figures for some foods we often associate with umami:
|
Food Type Tamarillo
Tomato
Green pea
Carrot
Beef
Venison
Egg yolk
Katsuobushi (dried bonito)
Niboshi (dried sardine)
Kombu (seaweed)
Nori (seaweed)
Shiitake
Anchovies
Cheese
Fish sauce
|
Glutamate (mg/100g)
470-1200 150-250 110
40-80
30
25-35
50
30-40
40-50 1200-3400
1380
70
630-1440
300-1680
620-1380
|
So, how do you develop the depth of the umami in something like tamarillos? Although I’ve only ever eaten mine raw, it did occur to me that they would make a fantastic tart tatin – especially as they hold less liquid than tomatoes, so wouldn’t go soggy.
I also spotted a recipe in the new Dabbous cookbook, where Ollie confits them and pairs with burrata, a perfect dish to my mind.
The flavour of roasted tamarillos is just ridiculously good – the umami reaches new heights, and leaves you sucking your cheeks for hours after tasting them. They’re even more addictive now than before, and I cannot imagine eating them raw very often again. Please do give them a go – I’d almost say they’re the most delicious thing I’ve cooked – thank goodness I have half a tray left – I’m off now to make some tamarillo jam…

 A high end pâtisserie book, this is aimed at bakers who are both proficient and confident in the kitchen. It features biographies of world-renowned pastry chefs, and two or three of their recipes. Most recipes are broken down into several components, requiring many techniques, though most are achievable.
The book is broken down as follows:
New Classics:
Andrea Reiss Armaud Deimontel Bernard Herberie Christophe Roussel Gontran Cherrier Luca Ori Martin Isaksson Nadège Nourian Nathaneil Reid Pasquale Marigliano Ronny Latua Sébastien Ordioni Sébastian Gaudard Shigeru Nojima Siang Yee
Art on a Plate:
Anna Polyuiou Antonio Bachour Carmelo Sciampagna Douce Steiner John Talley
Julie Sharp Luca Lacalamita Marike van Beurden Michelle Gillot
Experimental Exotica:
Alvarro Garrido Fernando Rivarola Florencia Randón Strozzi Janice Wong Leonar de Sousa Bastos
Pamela Yung Pierre François Reolofs Rosia Sanches Sarah Jordan Will Goldfarb
Wonderland Confections:
Bobbette & Belle Bonnae Gokson Emily Miranda
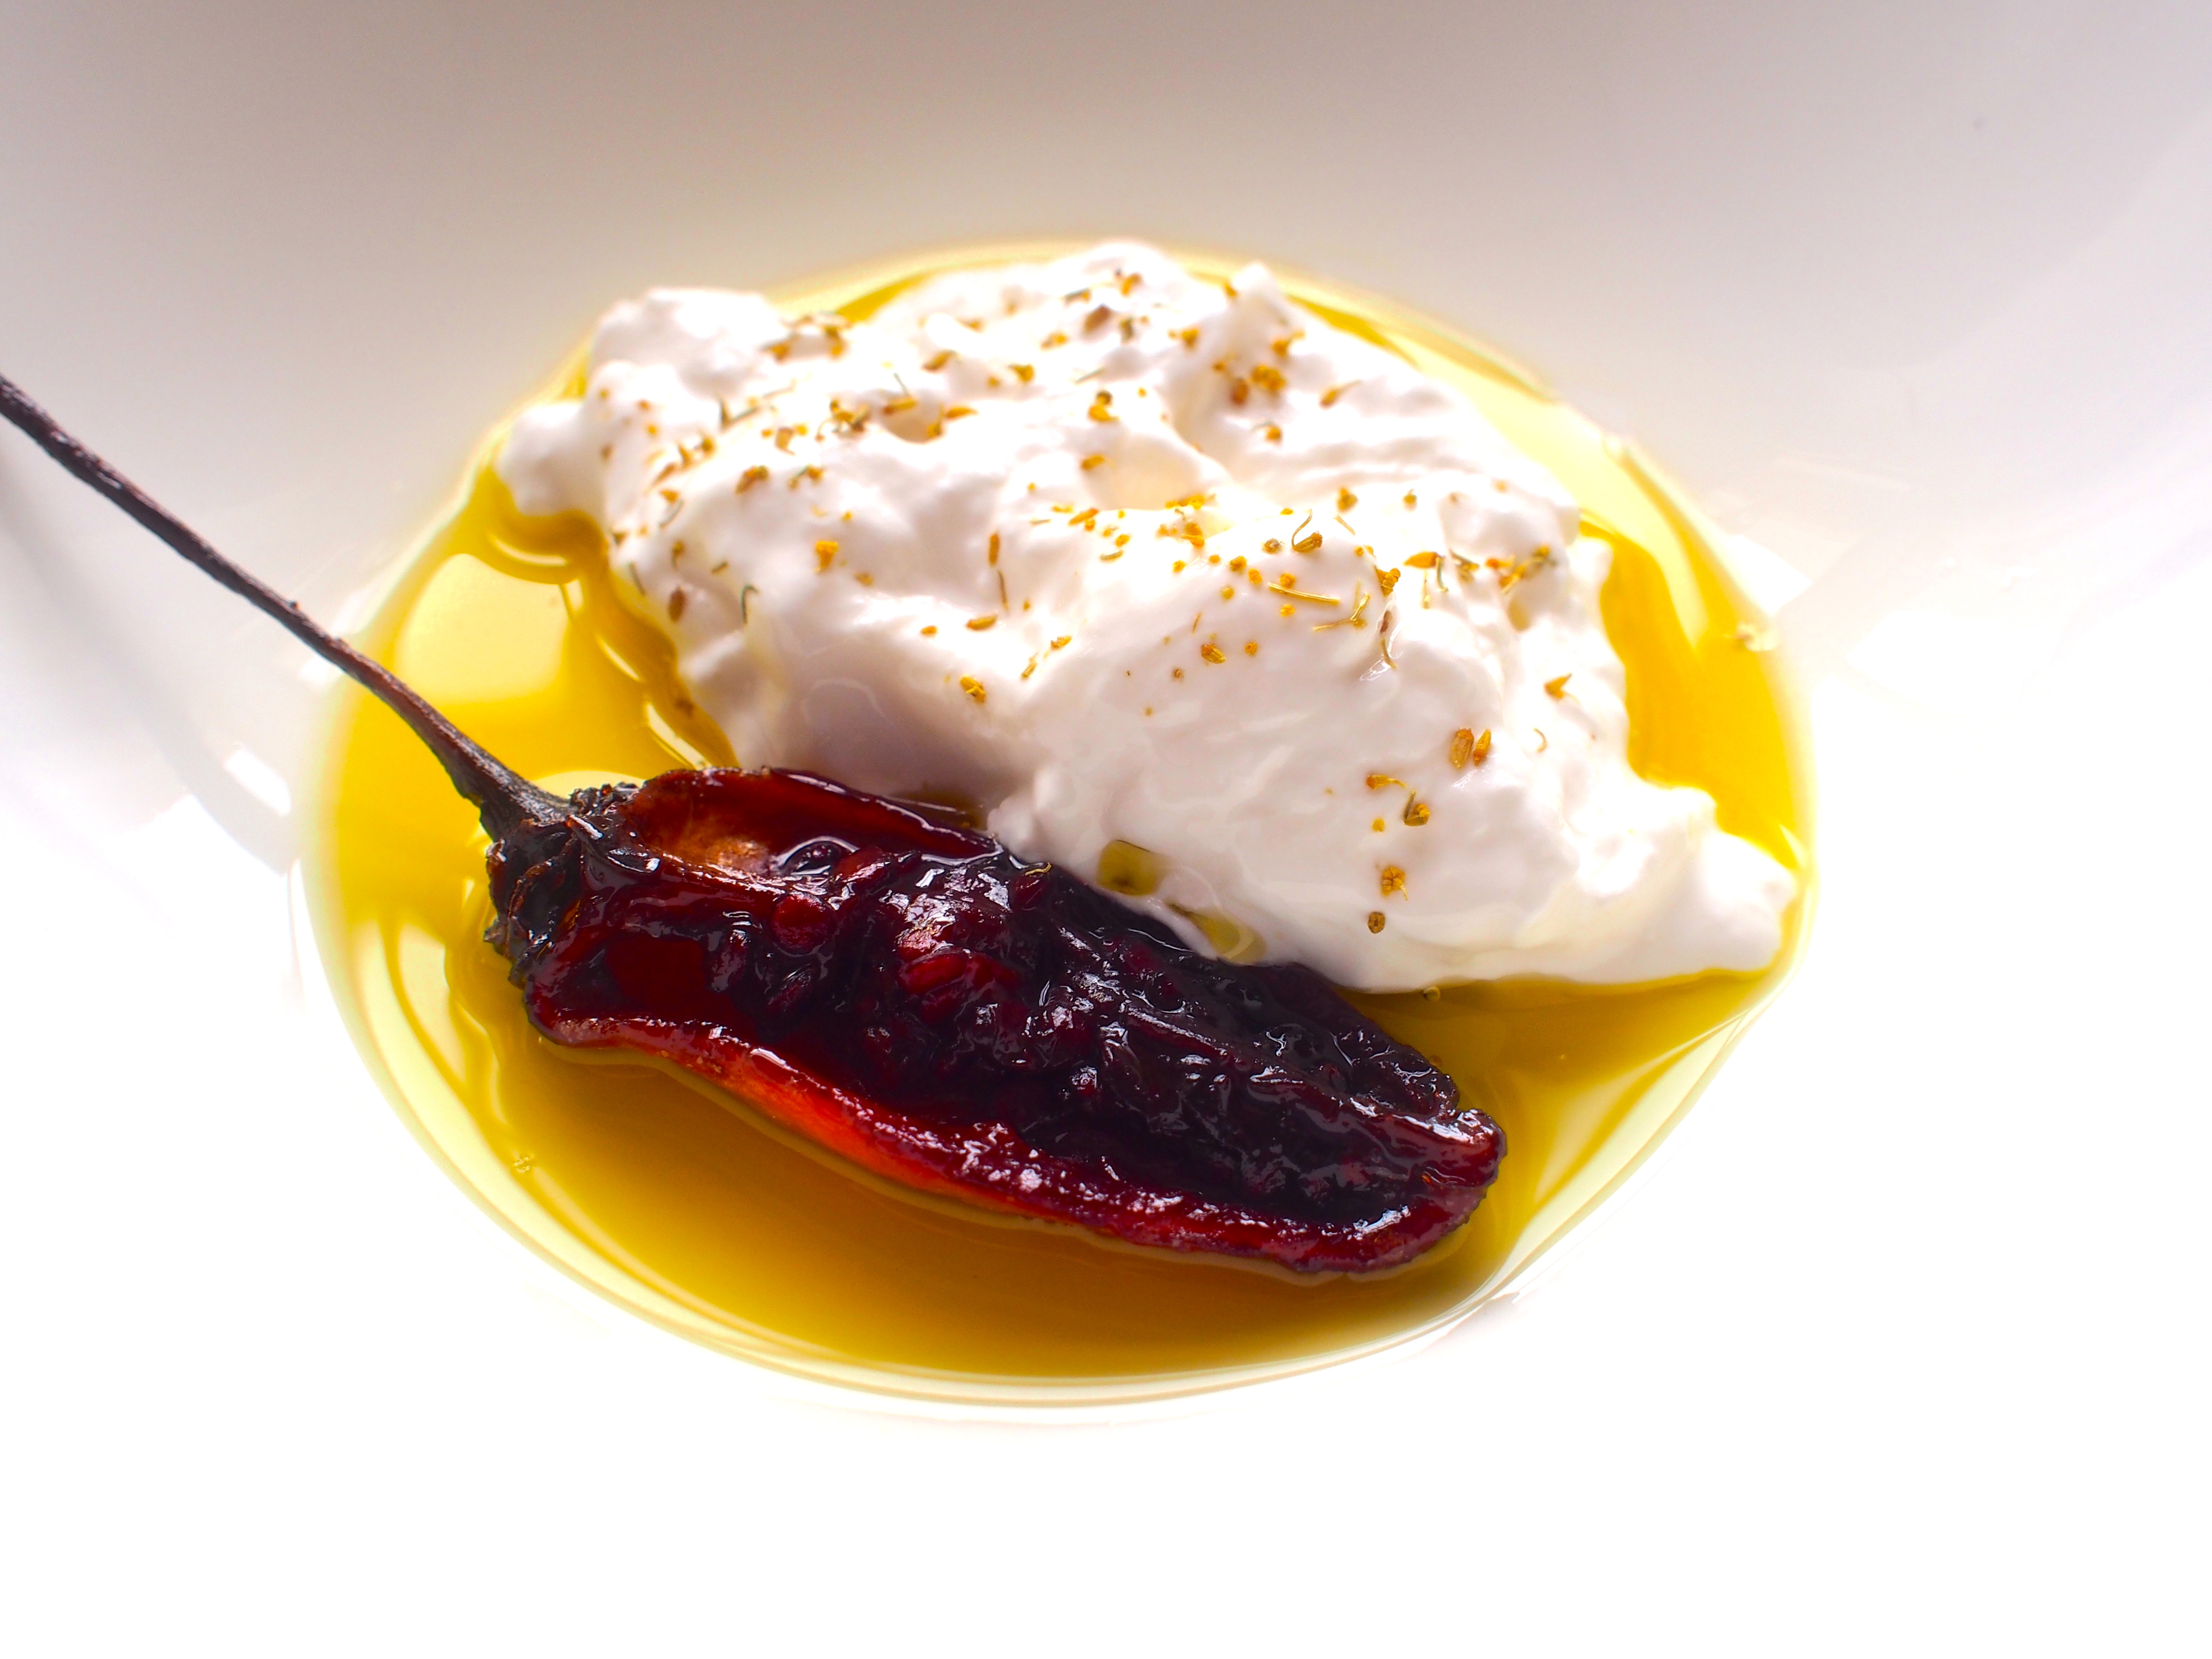
 I have a whole post on the delights of tamarillo’s, so I shan’t bore you again, except to say that they must be in your top 100 foods to try before you die… Trust me – they’re stunning… This particular dish makes the most of the tamarillo’s ridiculously high umami levels, and pairs it with silky smooth, creamy burrata.
For those who’ve not tried it, burrata is a combination of mozzarella and cream, and must be eaten as fresh as possible – make sure you buy when you intend to eat it. The chef who created this dish is Ollie Dabbous, of the eponymous Dabbous restaurant, and is from his long-awaited cookbook. If you can’t get a table at the restaurant, at least you can try his food at home…
With a dish this simple, it’s crucial that you buy the best possible ingredients.
Ingredients:
2 large tamarillos
25ml extra virgin olive oil
25g caster sugar
Method:
To assemble:
240ml extra virgin olive oil
32 basil leaves
2 burrata, sliced into 4 pieces each
fennel pollen
Notes:
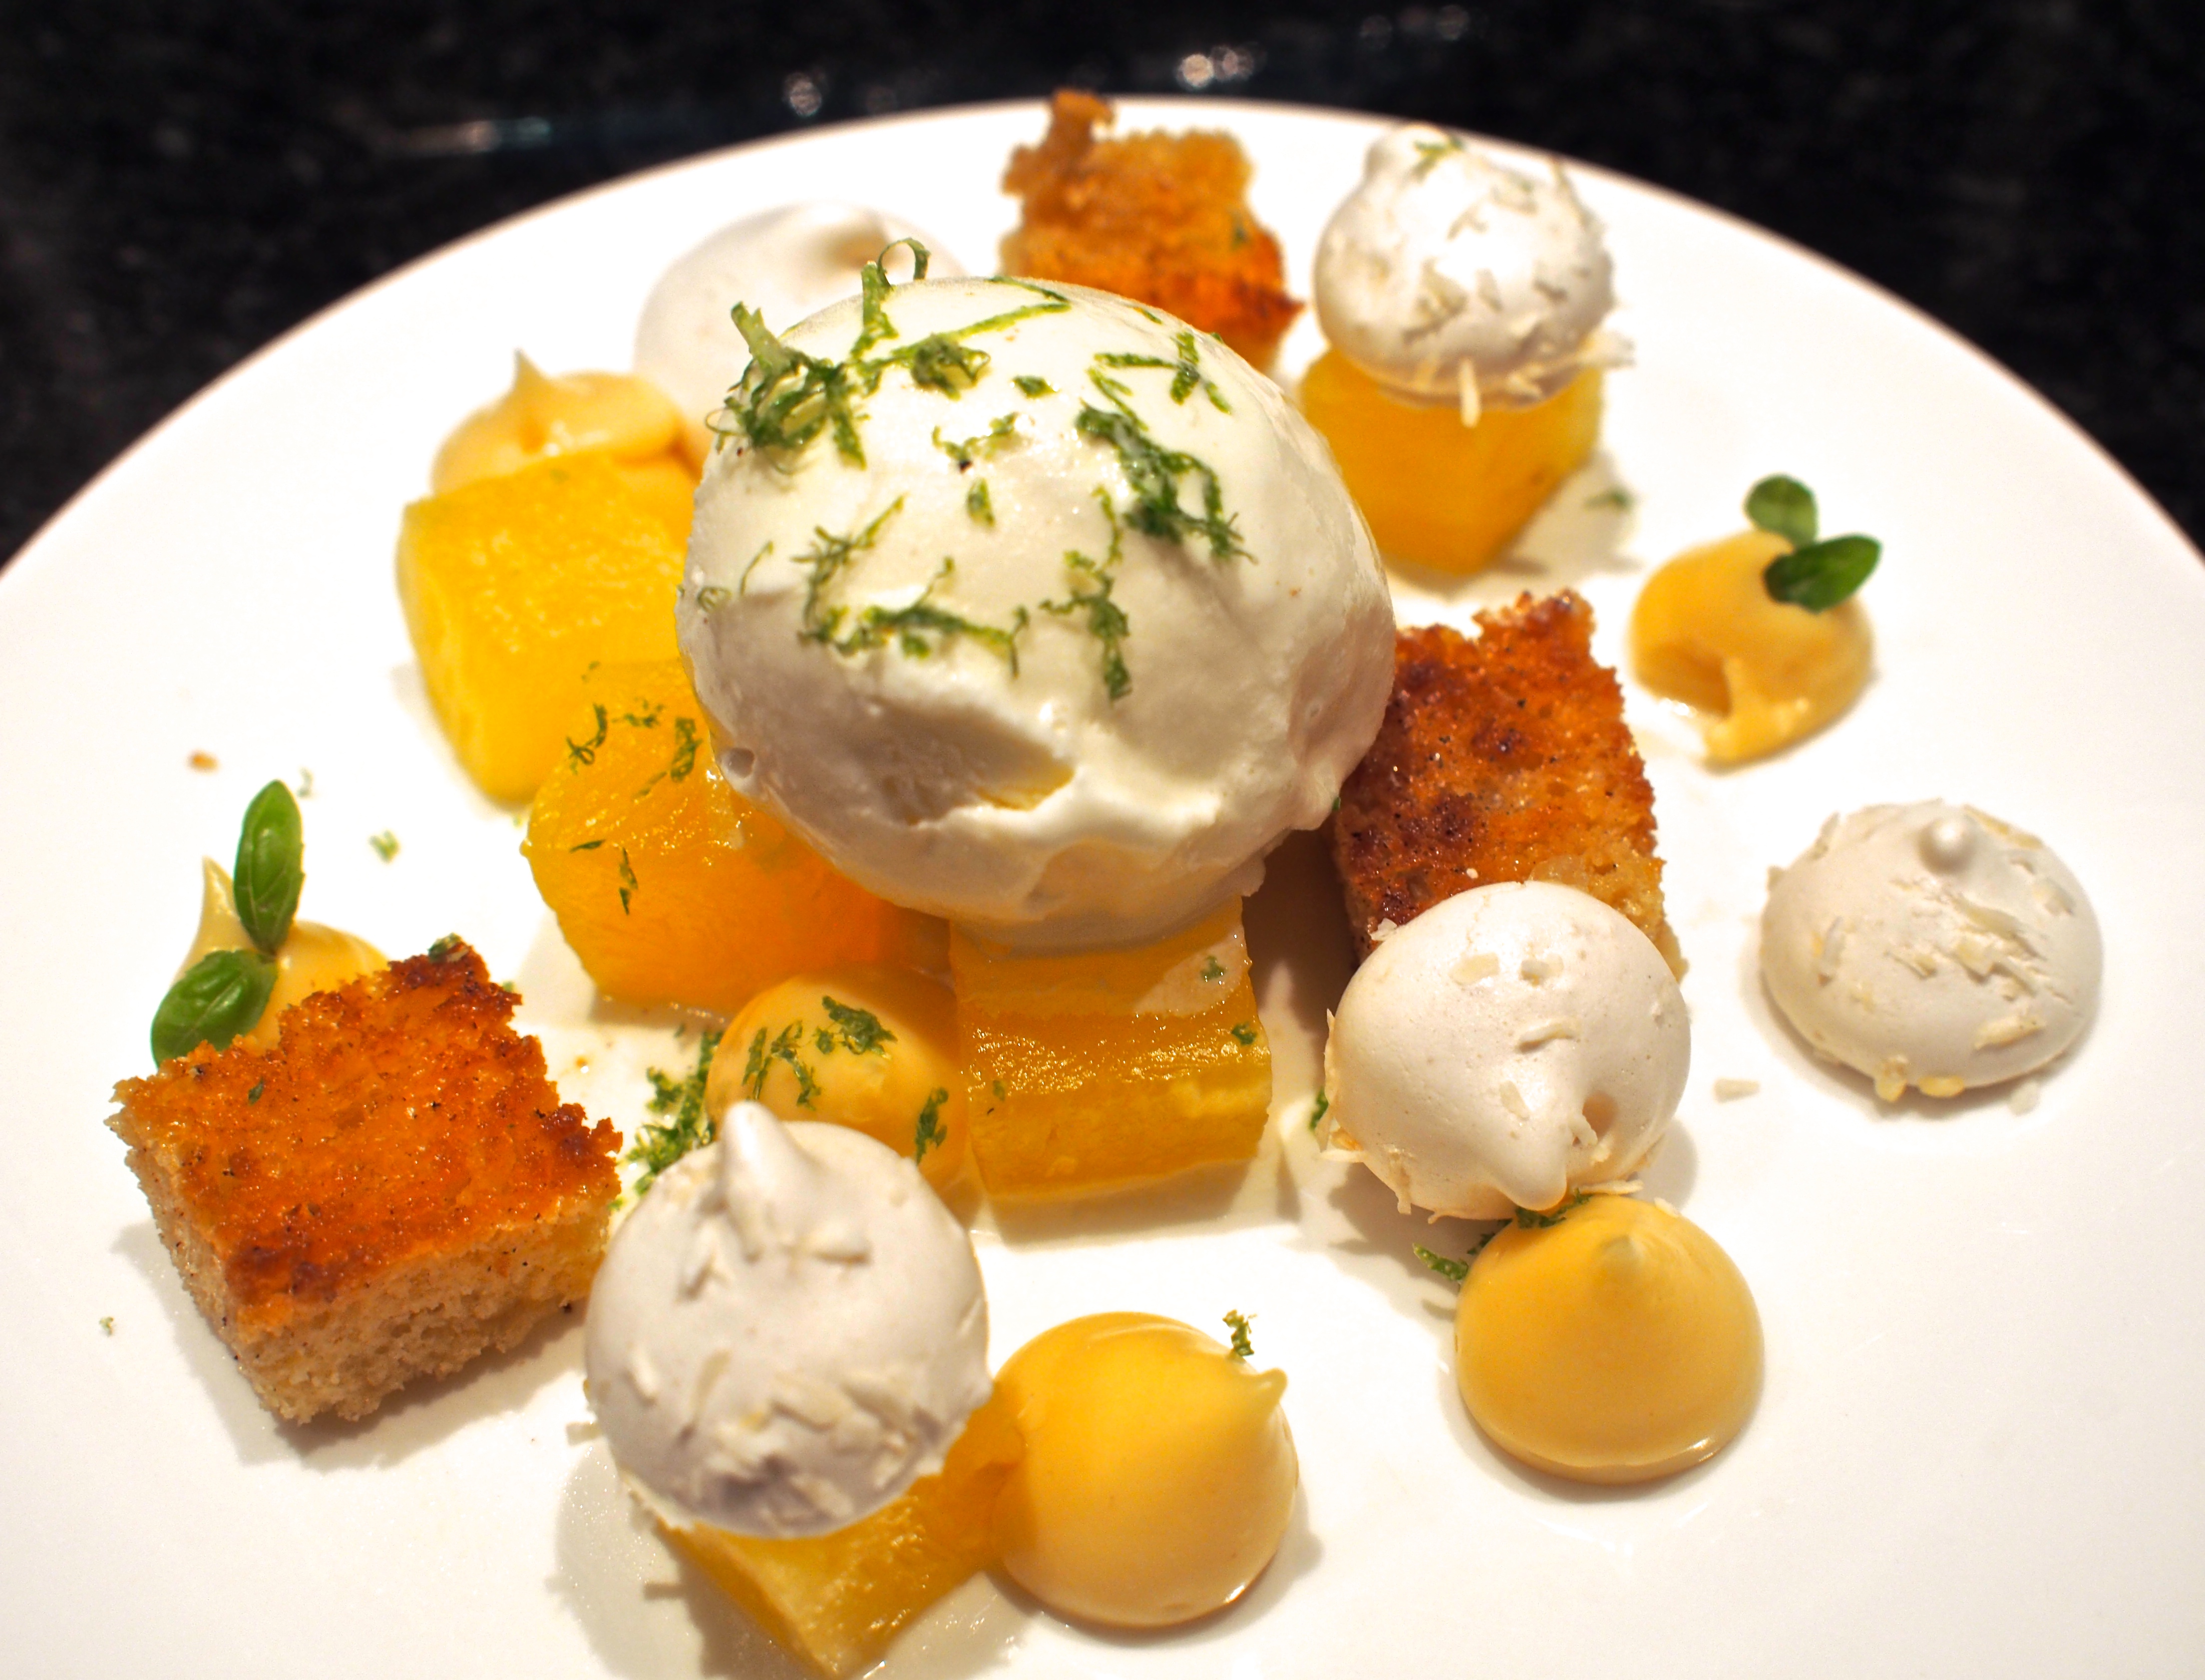
We haven’t been to Marcus Wareing’s eponymous restaurant since it was re-branded. It’s a little art-deco jewel-box of a restaurant, but the atmosphere seemed just as hushed at lunchtime as before… Still. The food was good, and I was particularly enamoured with this dish – a little chef’s joke… The pineapple tastes of coconut, which initially confuses the senses, especially as you try to work out how… I pressed the waitress, it’s clearly compressed, because of the texture, but what with? And then of course it struck me – Malibu – the scent led me by my nose to my teenage years. Malibu. When was the last time you tasted Malibu? Well, rest assured, in this dish it’s absolutely delicious, as long as you like coconut and pineapple.
The plate comprised Malibu compressed pineapple, a coconut ice-cream, coconut curd, toasted brioche cubes, and coconut meringue. I wasn’t terribly fond of the coconut curd, so I thought I would experiment with a coconut-milk creme patisserie (in the Thermomix)… For the coconut meringues I used the Meringue Girls recipe, which I’ve made often before. It’s a very clever little dessert – you can prepare all the elements well in advance (perhaps with the exception of toasting the brioche), and then assemble when you’re ready. You see. I make sweeping statements like that. Yes, it’s a clever dessert, and easy, if you own a chamber vacuum sealer and a Thermomix. I’m still posting it, because someone out there will…
As the recipes are quite long, you can find them listed in the Plating section. The pineapple was cubed (as accurately as your patience will allow), and popped into a vacuum pack bag – I included 40ml of Malibu, and compressed under full pressure. I left it in the fridge for 48 hours to absorb the flavour. The compression will also change the texture of the pineapple, making it denser, and less fibrous (it effectively changes the cell structure of the fruit – it’s also an amazing technique to use on watermelon, for example).
To Plate:
Malibu compressed pineapple
Coconut meringues
Coconut-milk creme patisserie
Coconut cream ice-cream
Brioche cubes, dipped in egg and fried in a little butter
Notes:
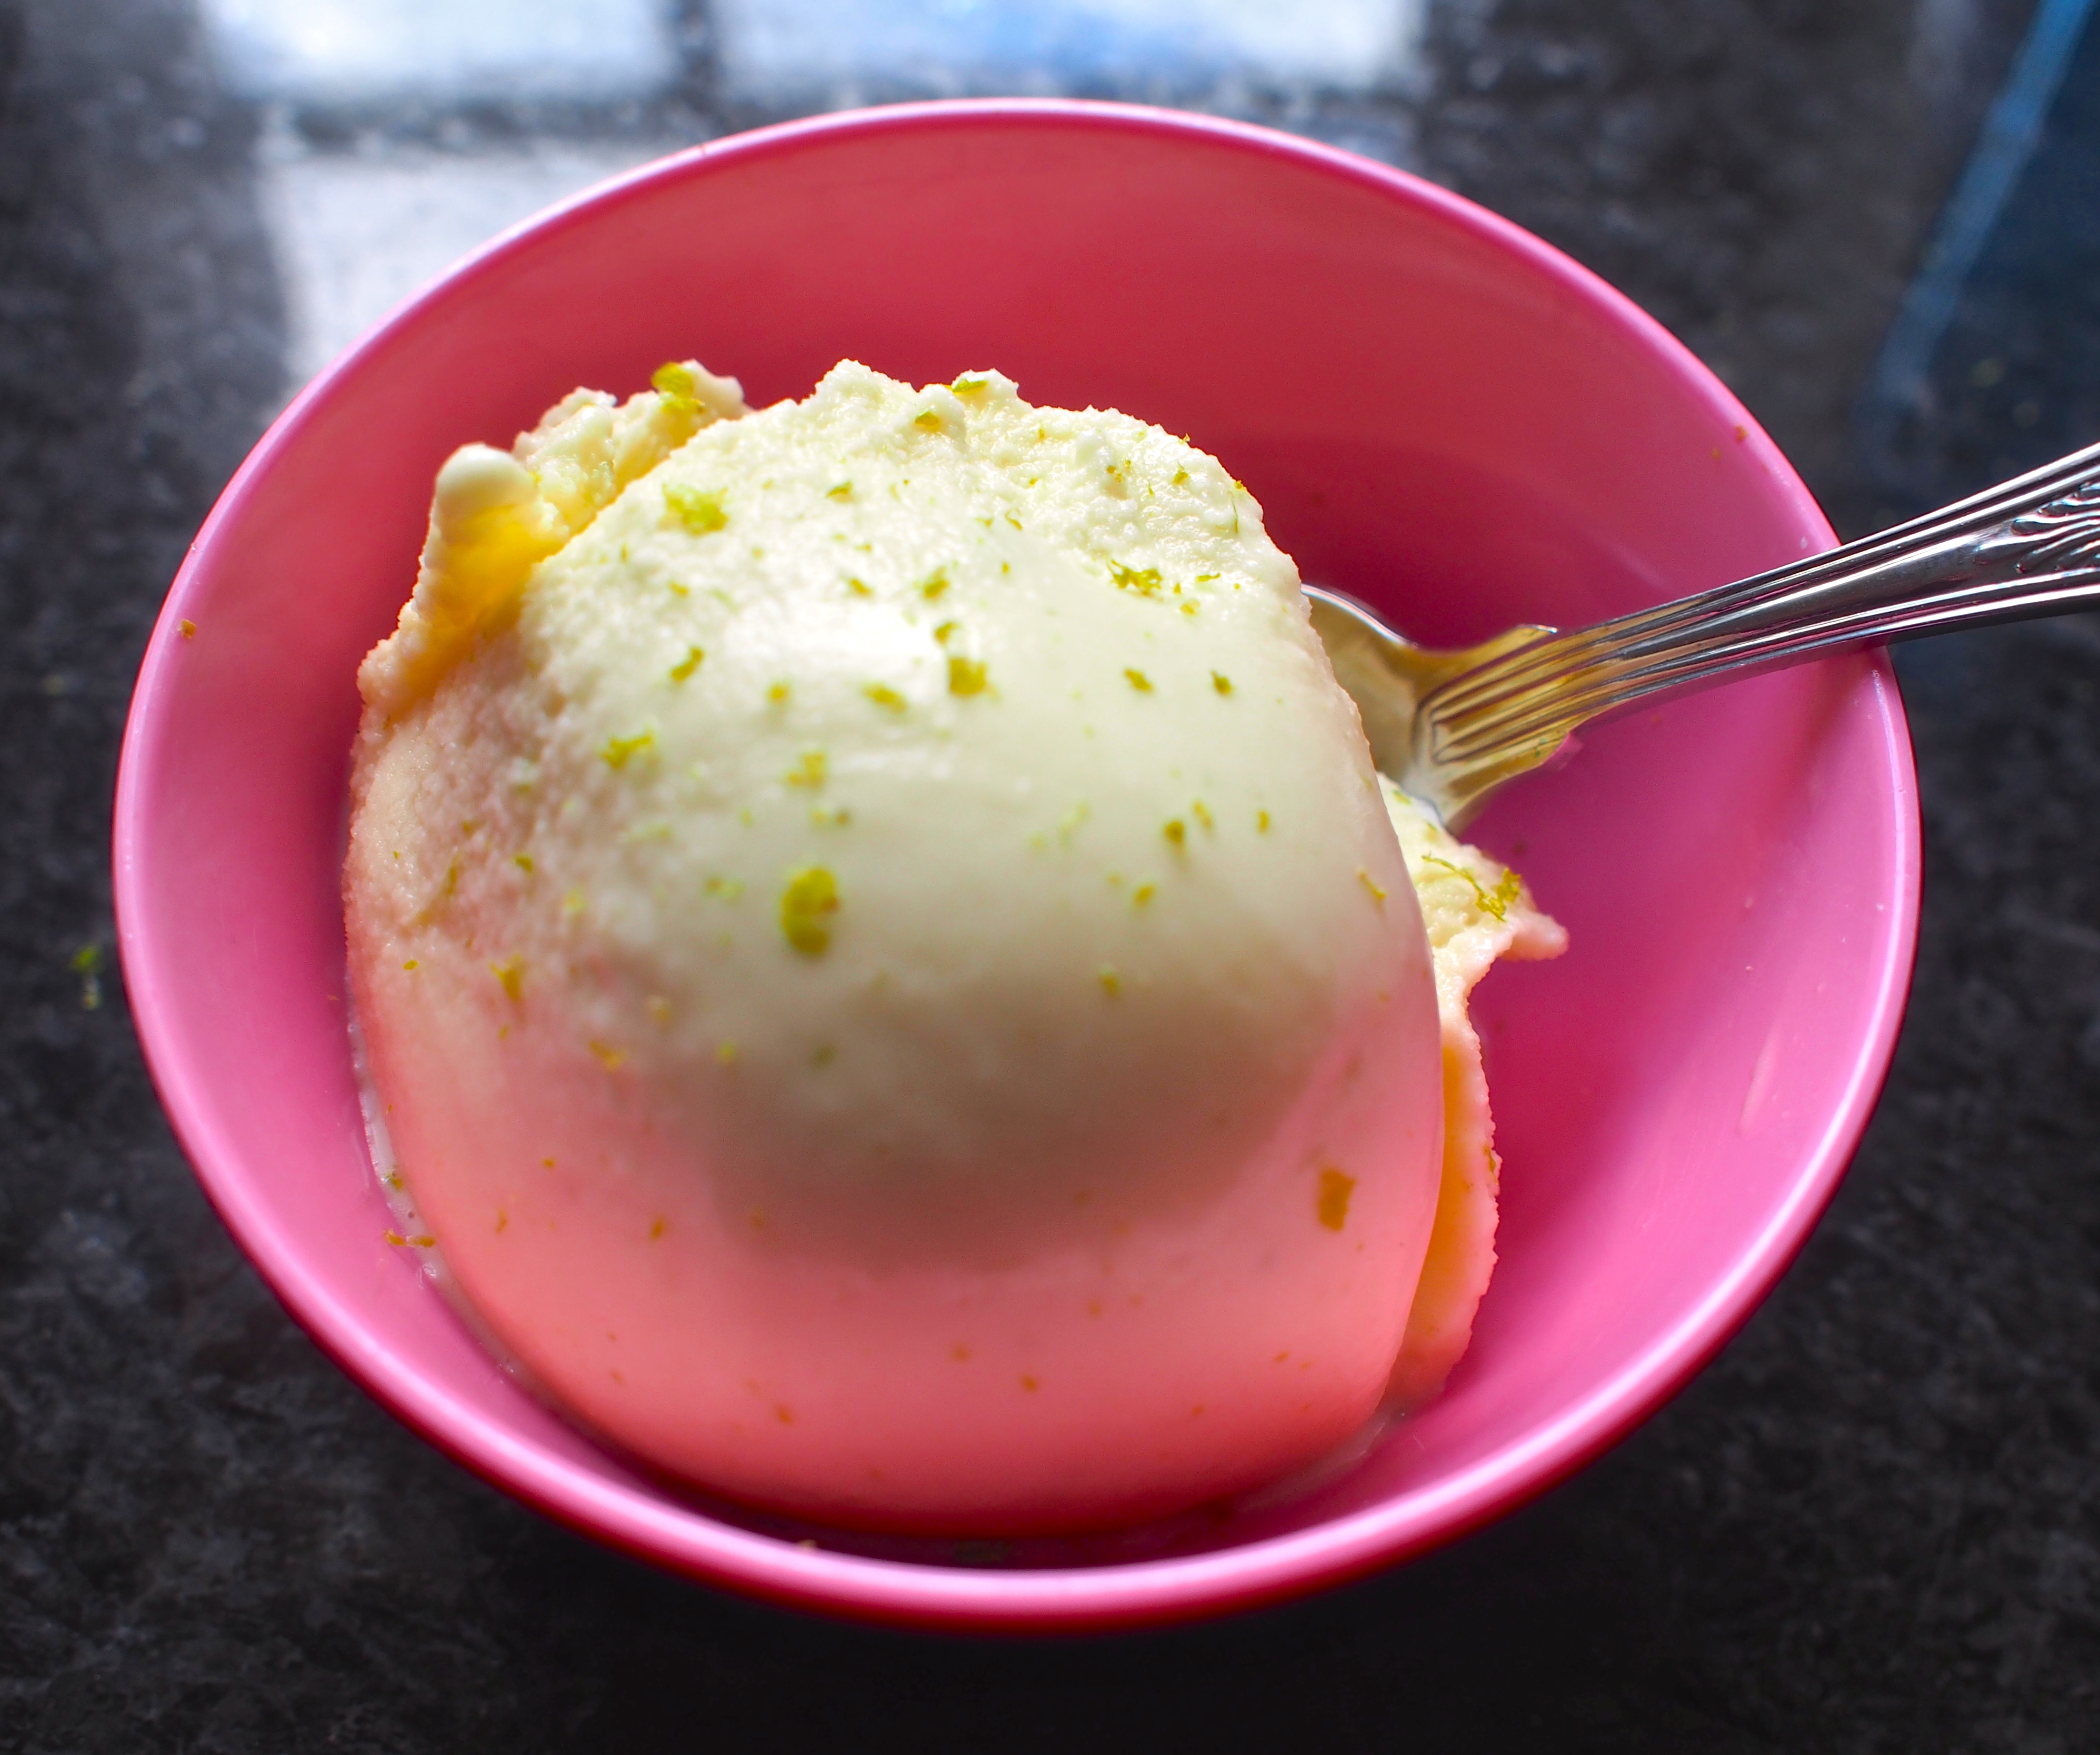
 There are lots of recipes for coconut milk ice-cream, especially with the rise of the “raw” diner (where a dish is not cooked in any way), and the number of vegans (who can’t eat any dairy). My own persuasion of ‘pescetarianism’ is supposed to mean that I don’t eat dairy (because of my osteo-arthritis), but the reality is that I will have the odd cappuccino, the odd ice-cream, and the occasional bit of chocolate. Luckily I’ve was put-off cream for life whilst working for six months in a bakery on Saturdays – there’s nothing like free cream slices for your break to put-you-off forever!
I wanted to create a coconut milk ice-cream recipe, but I wasn’t particularly concerned with excluding dairy, so adapted an existing recipe, replacing part of the double cream with coconut cream. Most of the recipes I’d seen that were dairy-free, didn’t seem as smooth as I wanted, often scooping unevenly, so at least this recipe gives you a velvety smooth finish without impacting on the flavour. I was also making it for a specific dish, so included lots of grated lime zest into the recipe too.
Method:
Notes:
 I love the Meringue Girls on many, many levels – they’re cute, and they’re cute! They’ve taken something basic and created a niche market – good for them… In addition, their cookbook has brilliant little video clips which can be accessed via the cookbook by scanning a special code on your iPhone. They’re fun, informative, simple, and definitely give you a sense of their personalities: that’s often difficult to achieve in a cookbook.
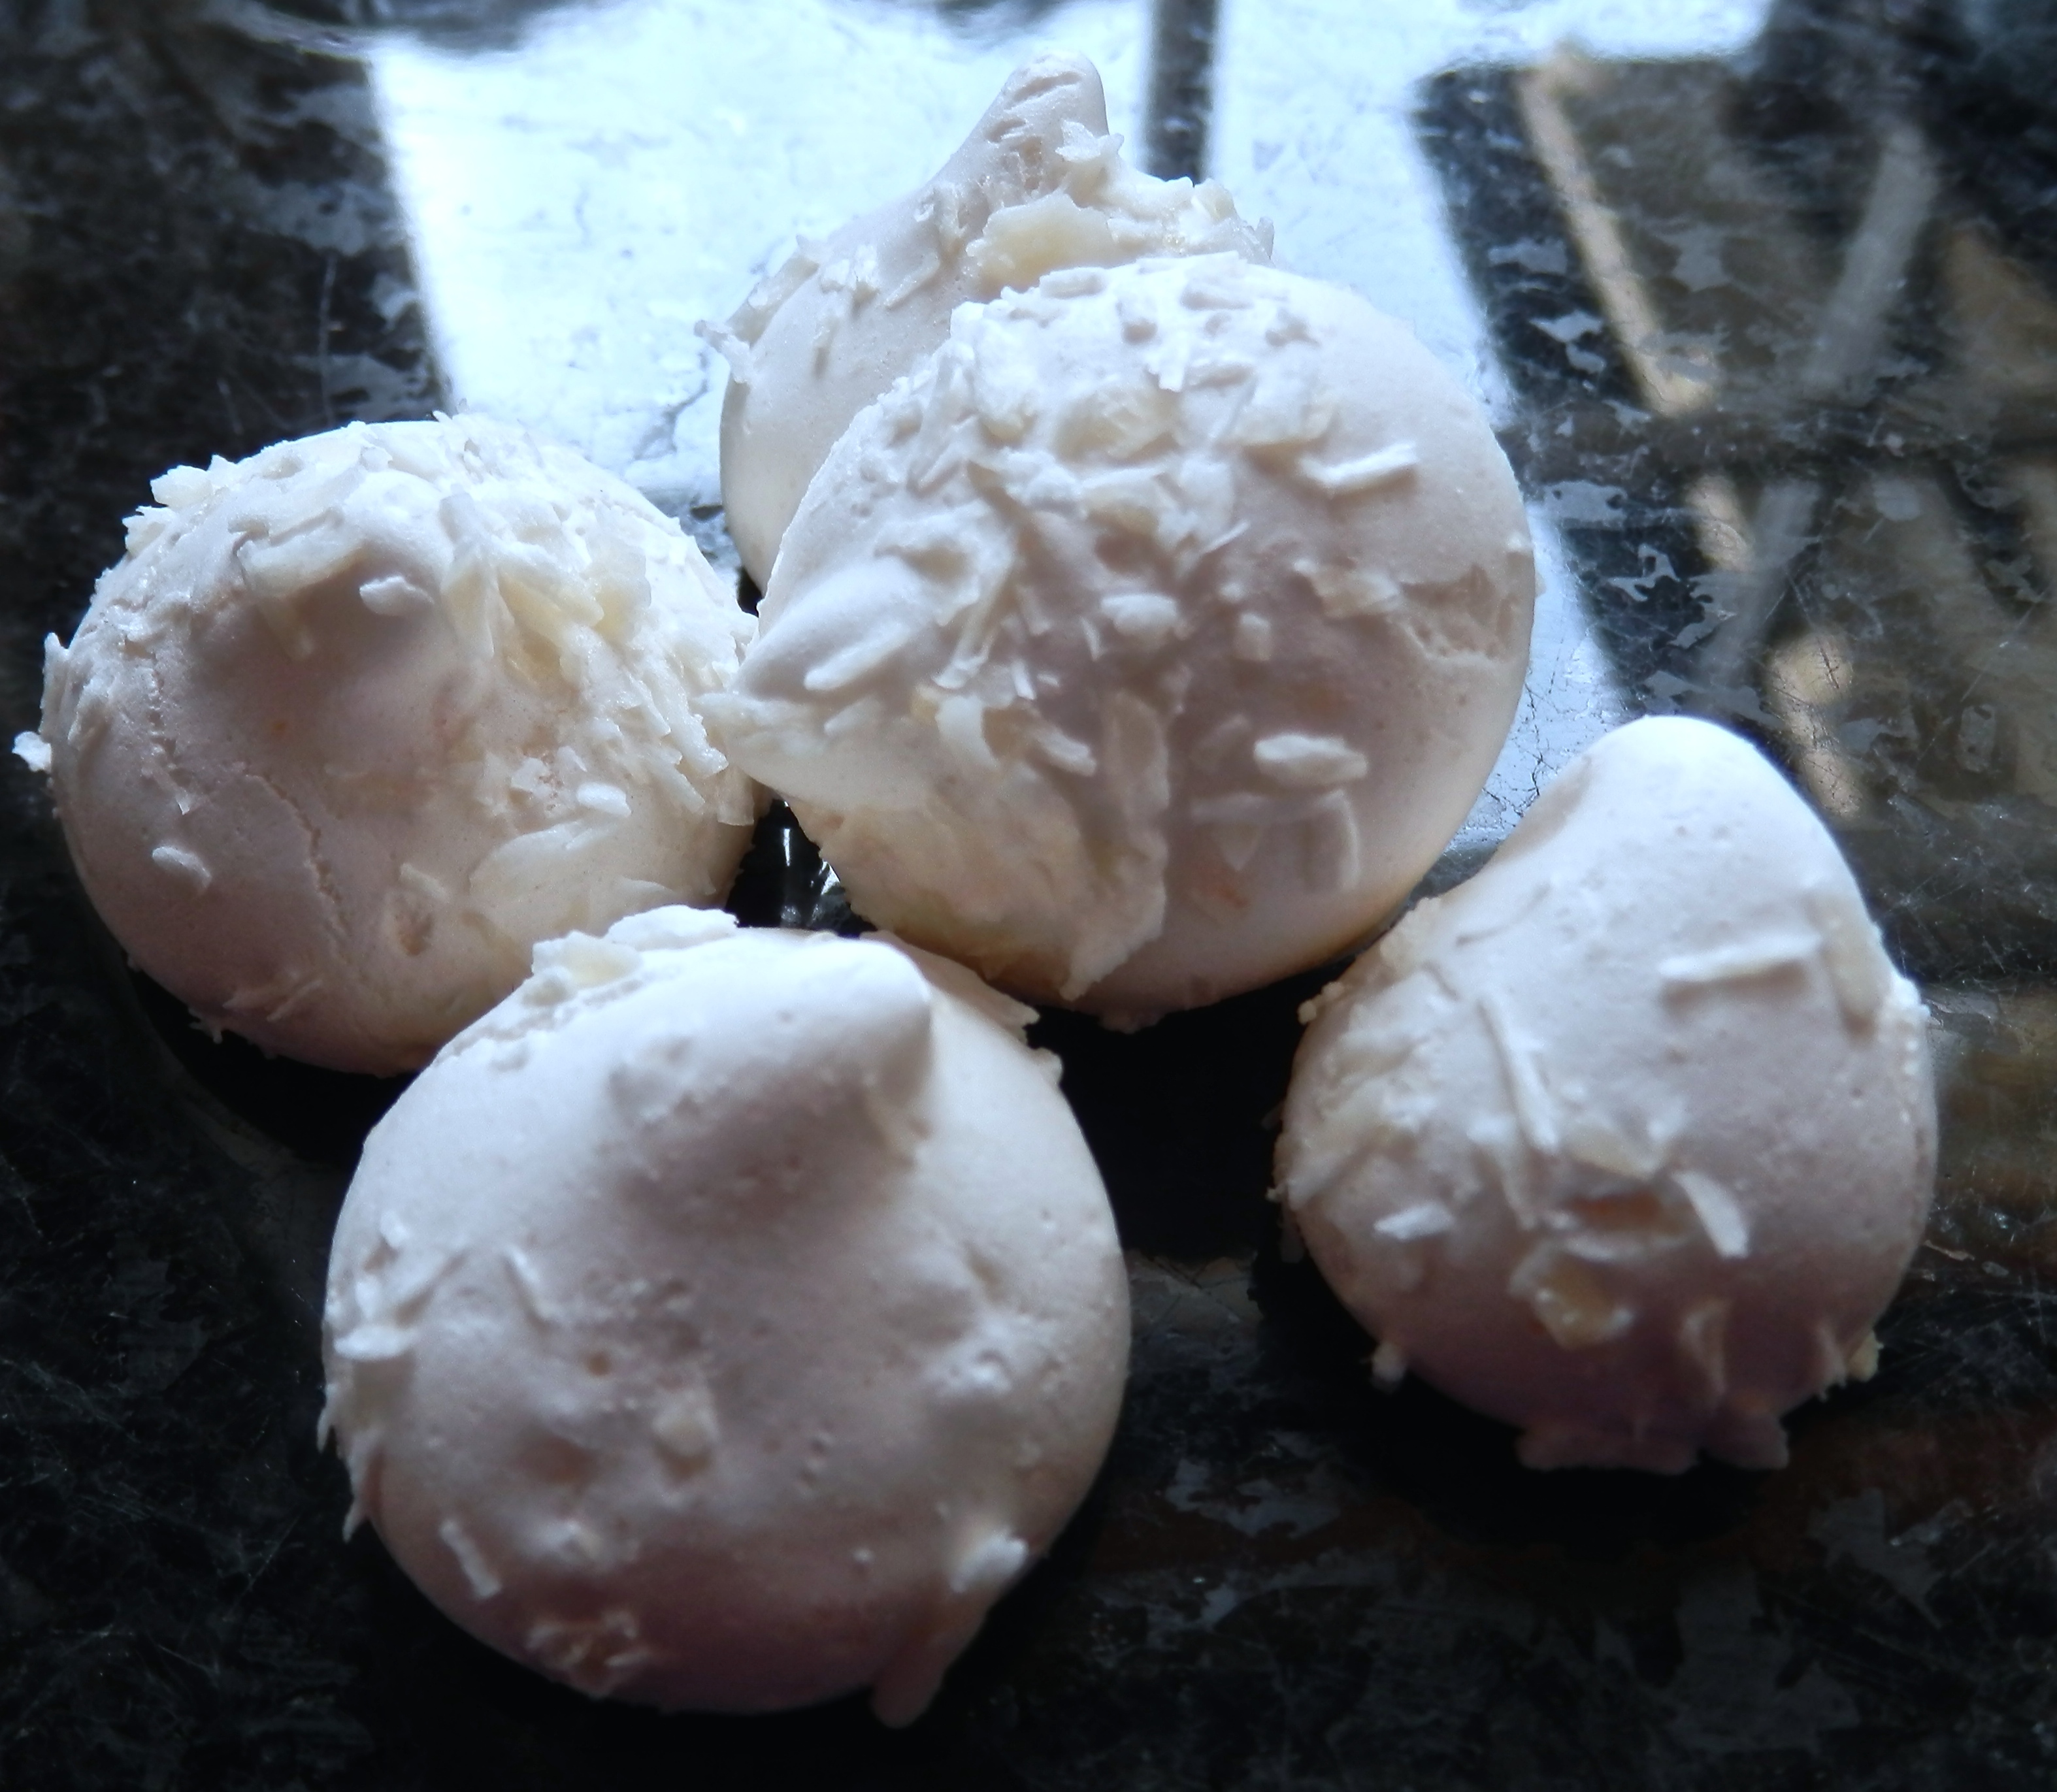
I’m particularly fond of their meringue kisses, because they’re easy to make, they look fabulous, and you can flavour them in all manner of ways. They’re the perfect little gift, and make a great item for a charity bake sale. My most popular flavour are the passion fruit, though the cocoa, raspberry and coconut are popular too. (The coconut variety taste like a Bounty bar, without the additional calories.) I use Aromes, which are professional patisserie flavours, and these do make a difference. If you’re going to make a large quantity of a particular flavour, an investment in them is well worth while – they also have the advantage of not adding too much liquid into your recipe.
The Meringue Girls technique is a little different to French Meringue (whisked with cold sugar), or Italian (whisked with a hot sugar syrup, and therefore cooked), or even Swiss (which is whisked over a bain marie to cook, then taken off the heat and whisked until cool). In this method the sugar is heated in the oven while you’re preparing the whites… It does actually work well, so don’t feel it’s necessary to opt for a different technique.
I’m giving you their basic recipe – do look at their book for different flavour ideas… Although the method section may seem quite long, do watch the videos included below the instructions – I promise you the Meringue Girls will make it all perfectly obvious in those videos
Ingredients:
150g free-range egg whites (5 medium eggs)
300g caster sugar
For flavourings, see Notes
Method:
Notes:
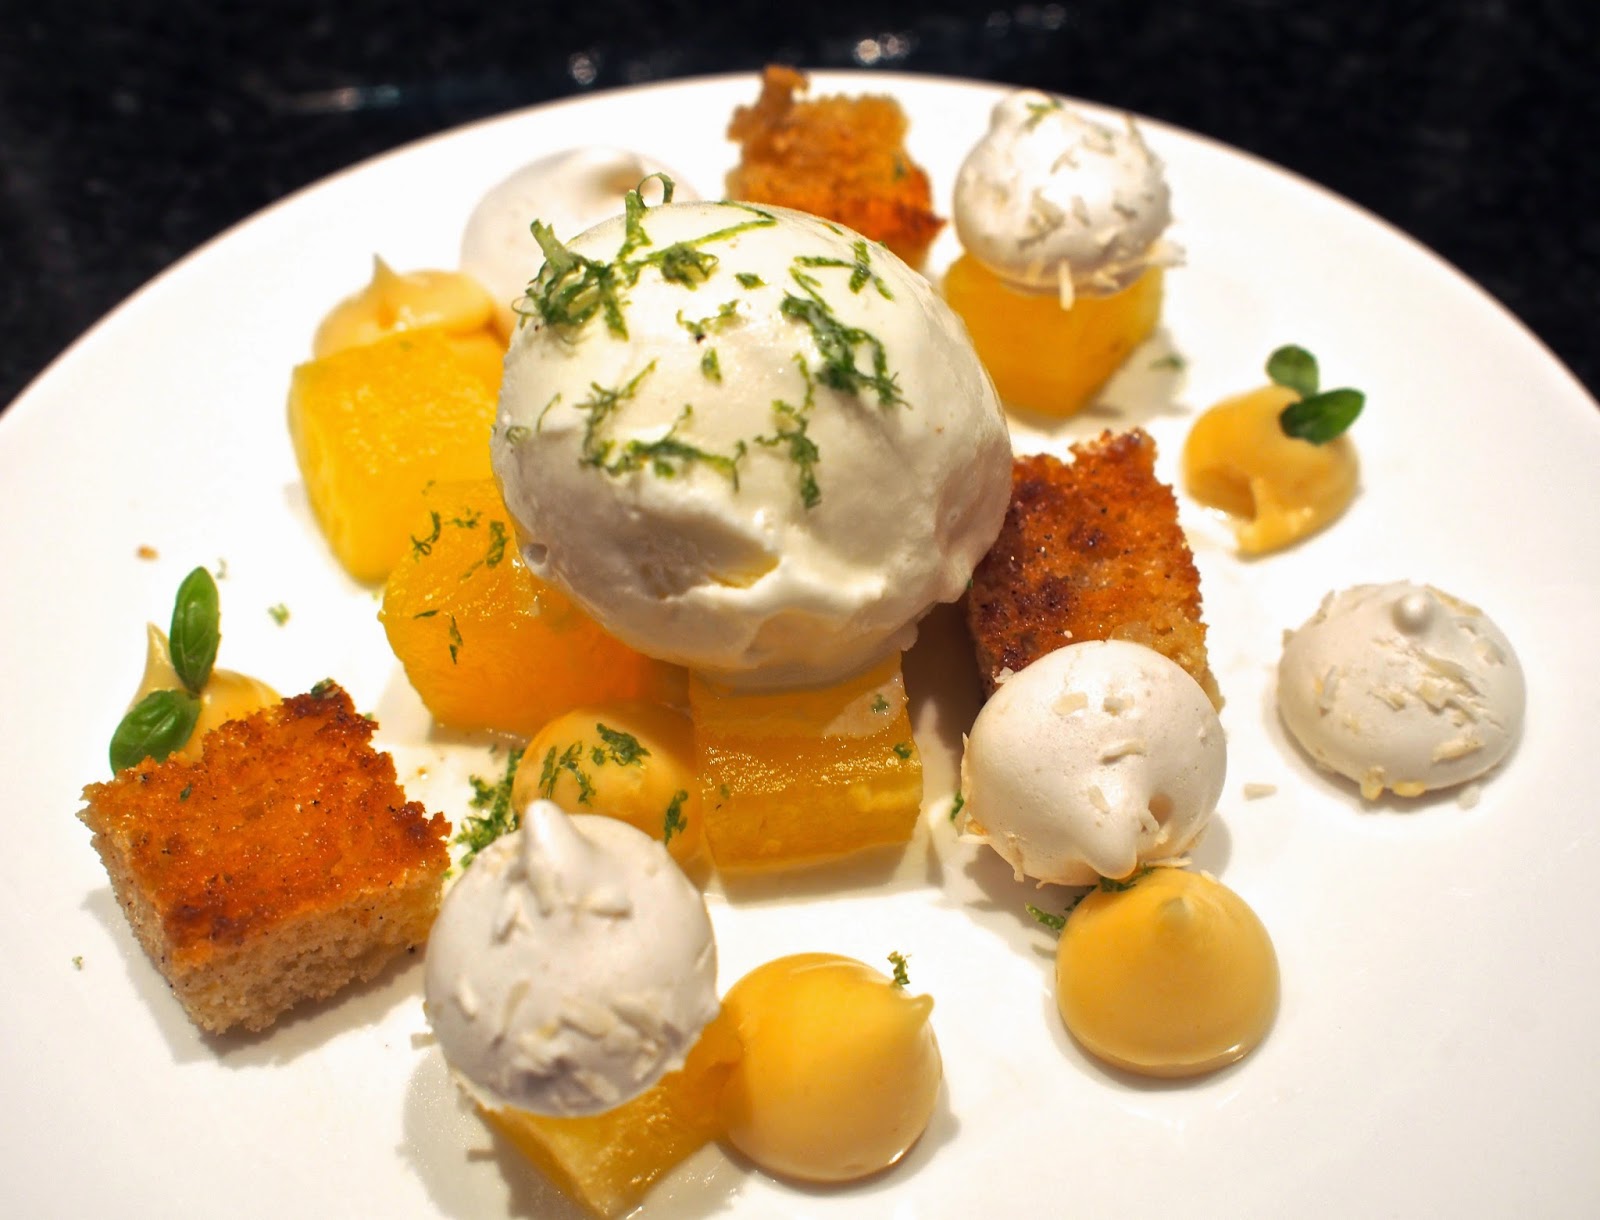 |
| Coconut meringues, coconut creme pattisserie, brioche pain perdu, compressed pineapple, lime sorbet |
 |
| A little bit of a joke, deliberately coloured and squat, to look a little like little hats for some sugar work I was making |
 |
| Production line for the school Christmas Fayre, along with pâte de fruit – there are passion fruit, raspberry, cocoa, and blackberry there |
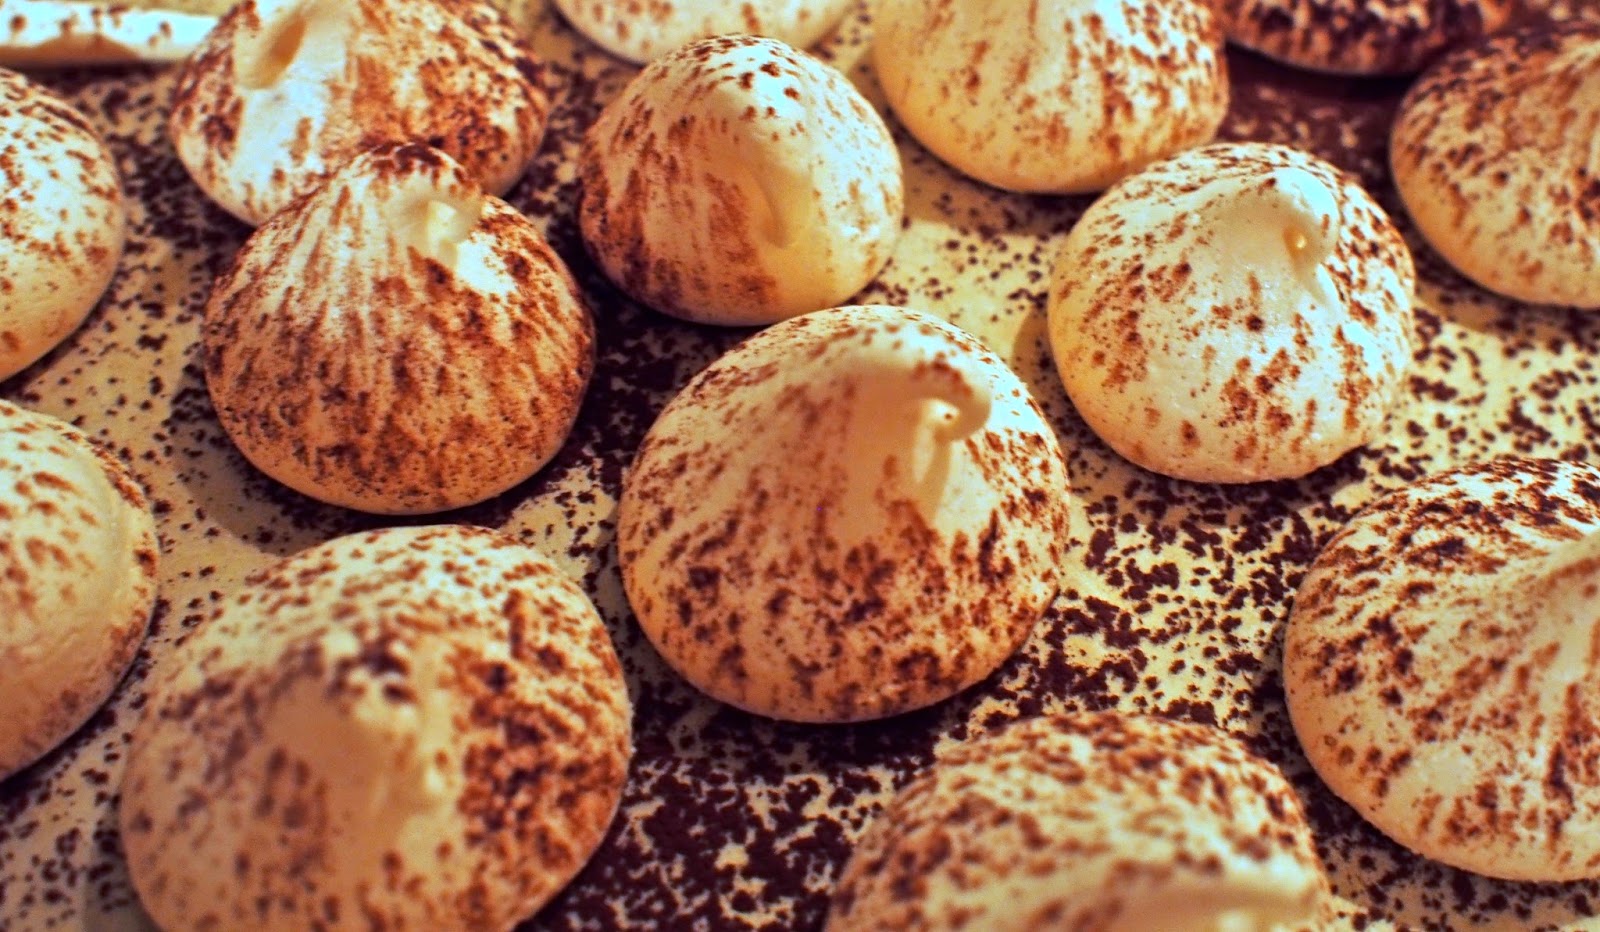 |
| Cocoa and chocolate flavoured meringues |

 This is a very pretty book, with lots of ideas for food stylists and photographers. The presentation of each TrEAT is different, and as a book aimed at foods you can give as gifts, this is perhaps more important than it sounds. The recipes themselves are straight forward, quick, and easy to follow – again important in a book focussing on treats to give away.
The book contains the following recipes:
Cakes:
Cherry and cinnamon bundt cakes; brownies with salted caramel; almond and Earl Grey teacup cakes; rose and leaf-topped cake pops; spiced pear and chocolate cakes; raspberry, rose and chocolate cup cakes; chocolate easter-egg cakes; coconut madeleines
Bakes:
Glazed mini ring doughnuts; mini mince pies; plum crumble in a jar & apple pie in a jar; currant scones
Biscuits and Cookies:
Blackcurrant and vanilla Linzer cookies; black and white cookies; spiced pumpkin cakes; gingerbread bats; chocolate chip cookies; tiny lemon meringue pie cookies; Liberty-print inspired chocolate hears; mini gingerbread houses; Neopolitan sandwich cookies; s’mores; white-chocolate-dipped pistachio & apricot cookies
Savoury treats:
Savoury fig & goat’s cheese cakes; oatcakes with pink peppercorns; cheese straws with caraway seeds; smoke paprika almonds; pretzels; infused oils; flavoured salts
Violet and peppermint creams; candied cashews; candied orange dipped in dark chocolate; chocolate salami; white chocolate and fresh berry bites; salted caramel sauce; dipped and decorate marshmallows; chocolate and chestnut meringues; cinnamon hot chocolate spoons; bacon and pecan nut chocolate shards; white chocolate and pistachio popcorn; chocolate rose truffles; salted caramel truffles; apple and cinnamon compote; rhubarb and vanilla compote; lemon and blackberry jelly; pomegranate and vanilla vodka
A great little book for homemade treats. Useful, pretty, well laid out, speedy enough recipes – a great addition in the run-up to Christmas.